Native Ubuntu Installation - Device Care
Follow the steps based on your RTLS Studio version:
Before you start with Device Care installation, be sure that your RTLS System deployment meets Device Care Requirements.
As of Studio 3.2, Studio comes equipped with Device Care Data Probe and includes a license, greatly simplifying the process of establishing connections compared to earlier versions.
For the installation follow the steps below:
- Access RTLS Studio and go to module Integrations
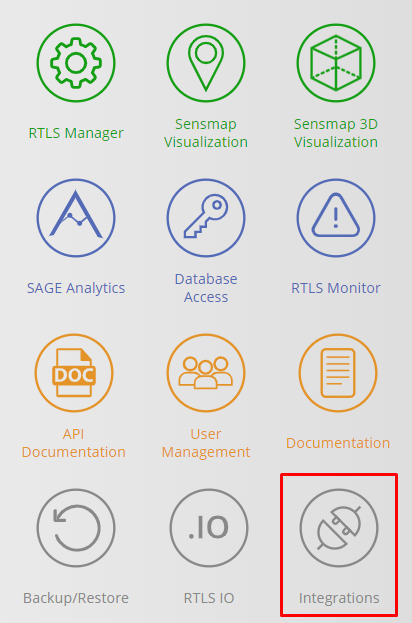
- There you can find section Connect to myRTLS
- When RTLS Studio installed from install bundle generated on myRTLS Site, the license is already includes as below on the picture
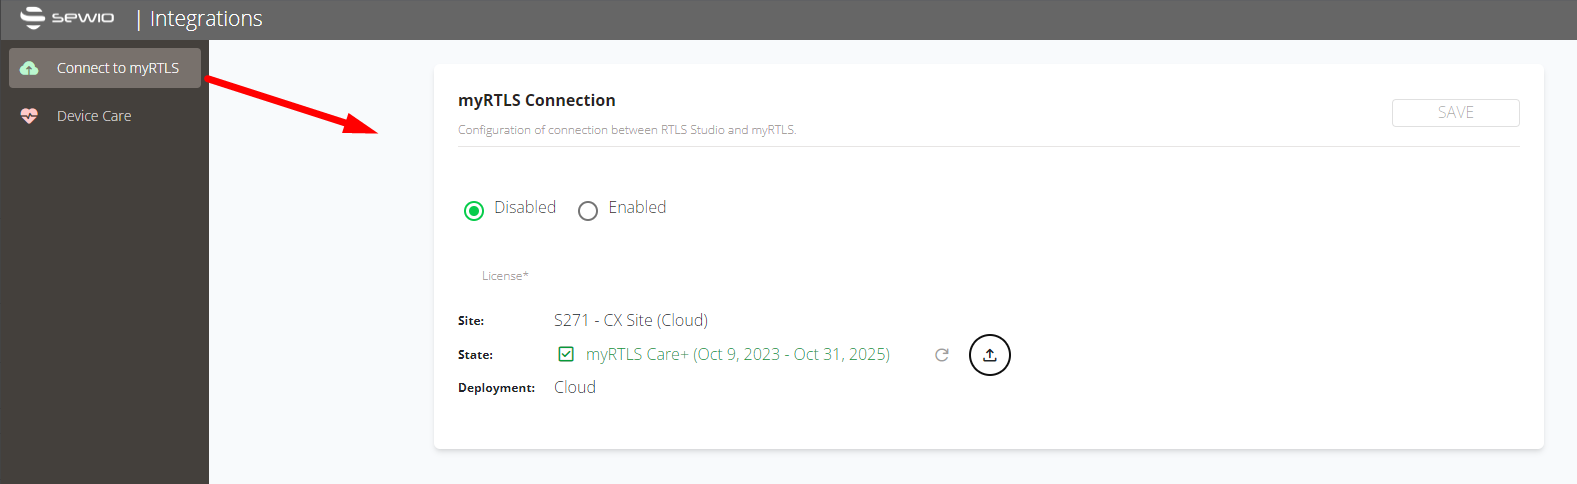
- If you cannot locate a license, please visit the myRTLS Site and navigate to the section where you downloaded RTLS Studio to obtain the necessary license.

- When RTLS Studio installed from install bundle generated on myRTLS Site, the license is already includes as below on the picture
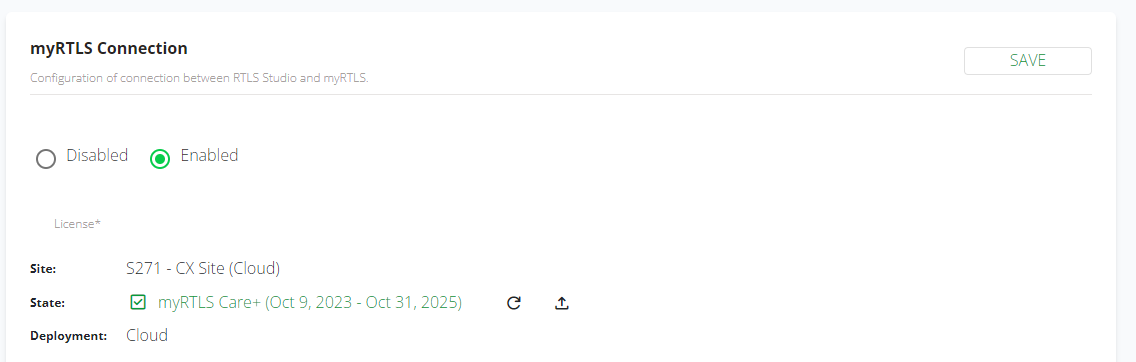
- Select Enabled and press SAVE button in top right corner.
- Access myRTLS Cloud or myRTLS On-premise based on your type of deployment and select the site that was created by Sewio for your project.
- myRTLS Cloud → www.myrtls.com
- myRTLS On-premise → http://localhost/ where myRTLS On-premise installed on port 7253 (e.g. http://192.168.225.2:7253/)
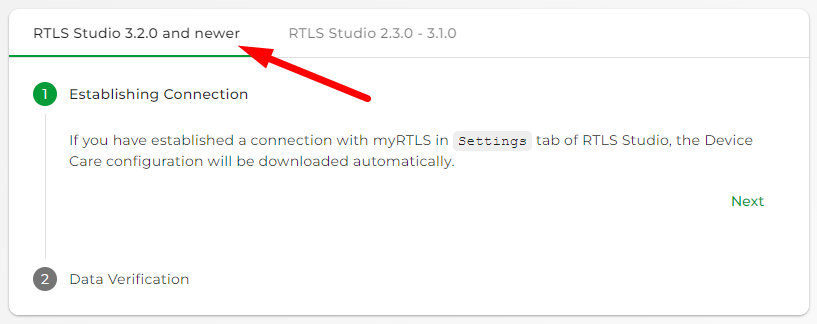
- Select Studio version based on your deployed version.
- Finish the Device Care Data Probe installation on myRTLS.com by Data Verification.
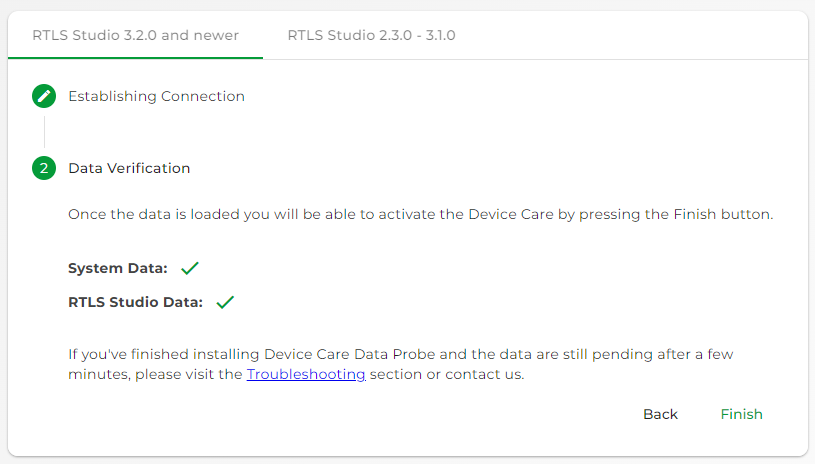
- You will be redirected to Device Care Dashboard.
Before you start with Device Care installation, be sure that your RTLS System deployment meets Device Care Requirements.
To establish a connection between your RTLS server and myRTLS Cloud you have to install Device Care Data Probe on the server where RTLS Studio is deployed, add site number and token.
For the installation follow the steps below:
- Access myRTLS Cloud or myRTLS On-premise based on your type of deployment and select the site that was created by Sewio for your project.
- myRTLS Cloud → www.myrtls.com
- myRTLS On-premise → http://localhost/ where myRTLS On-premise installed on port 7253 (e.g. http://192.168.225.2:7253/)
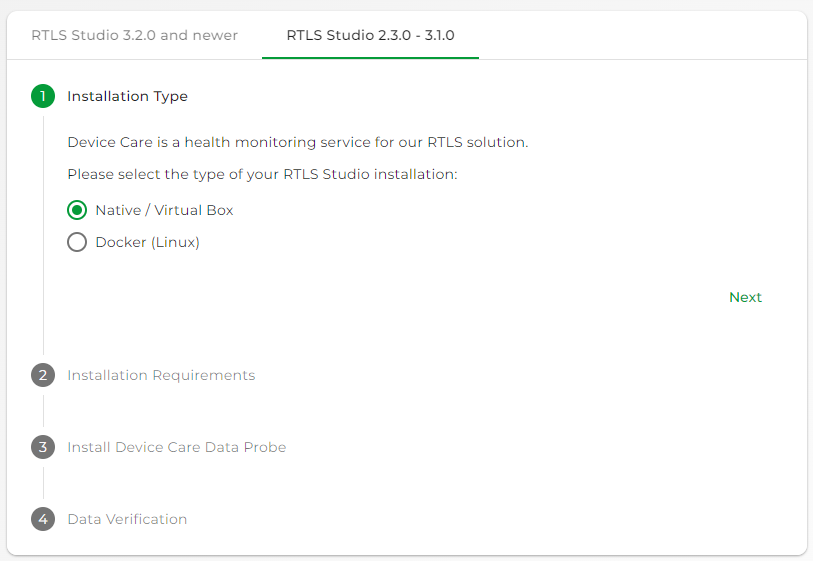
- Select Studio version based on your deployed version.
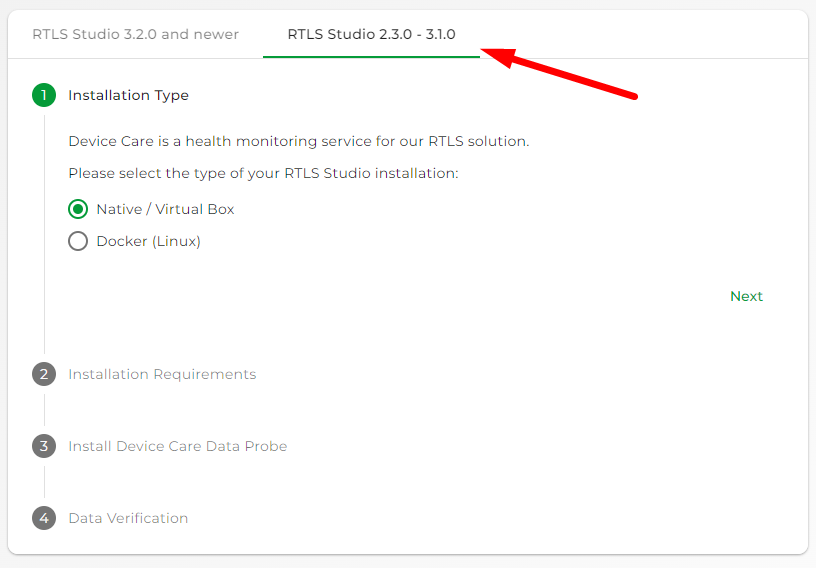
- Select type of your RTLS Studio installation → Native / Virtual Box. Click Next to continue.
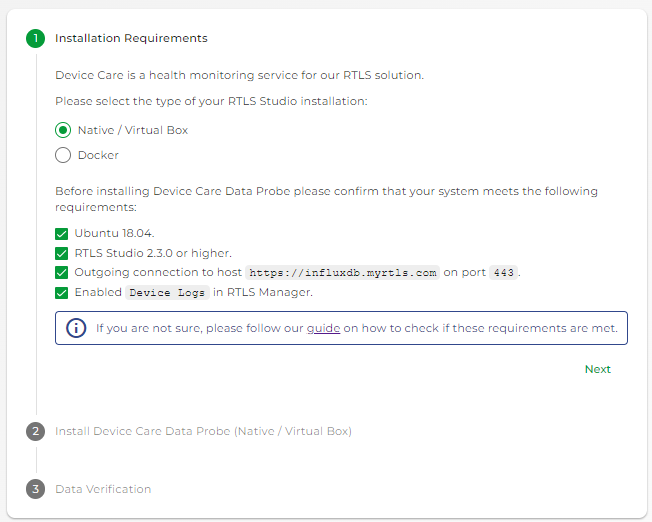
- Confirm that your system meets the following requirements. Click Next to continue.
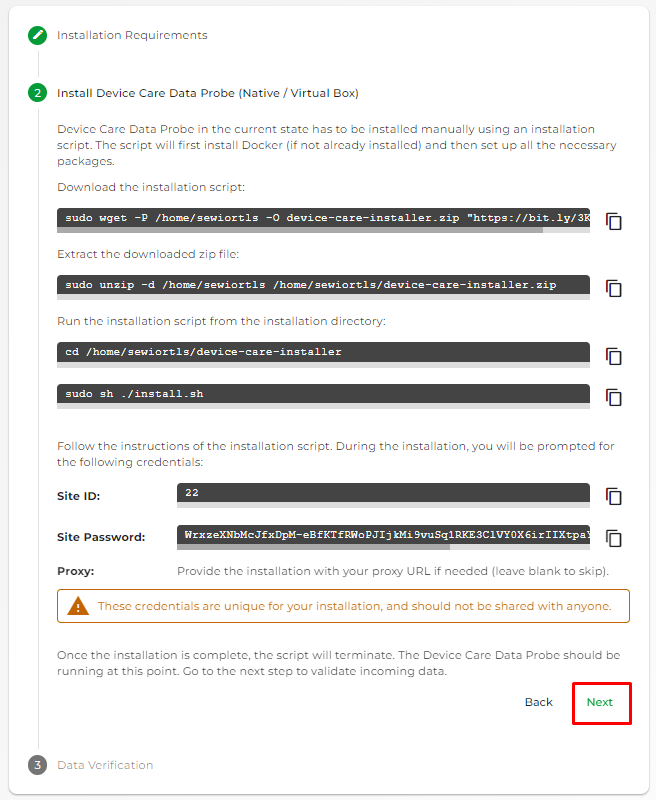
- Move to your RTLS Server and follow the Device Care Data Probe installation steps on myRTLS.com. You can find it also in the picture below.
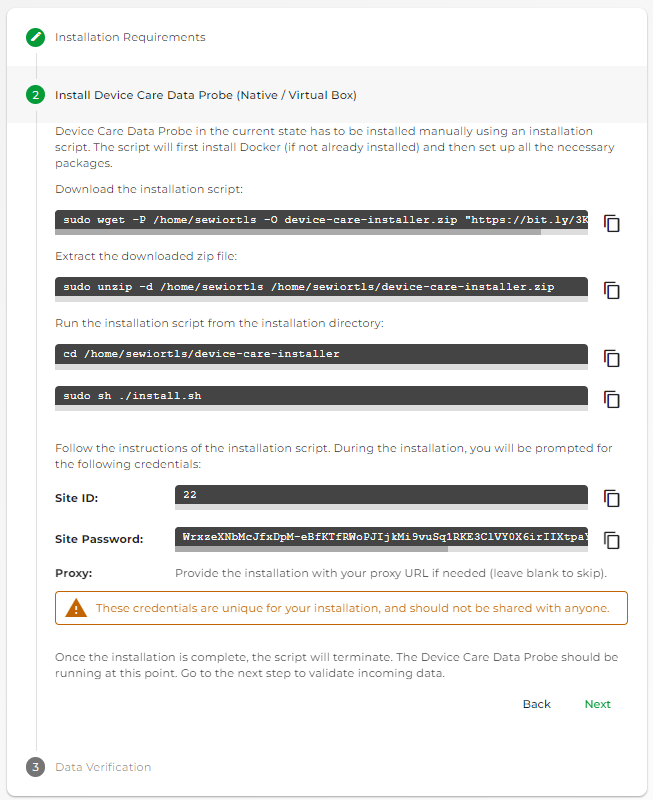
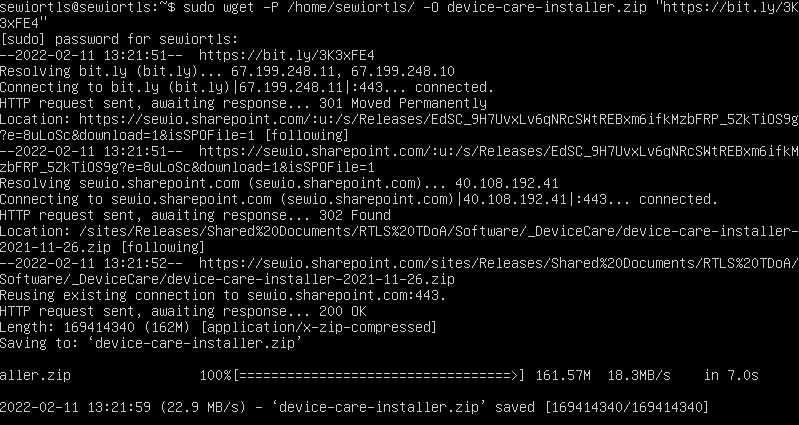
Download the installation script.
You should see this output download progress:sudo wget -P /home/sewiortls -O device-care-installer.zip "https://bit.ly/3K3xFE4"
Extract the downloaded .zip file.
sudo unzip -d /home/sewiortls /home/sewiortls/device-care-installer.zip
Go to the folder with the installation script.
cd /home/sewiortls/device-care-installer
Run the installation script from the installation directory.
sudo sh ./install.sh
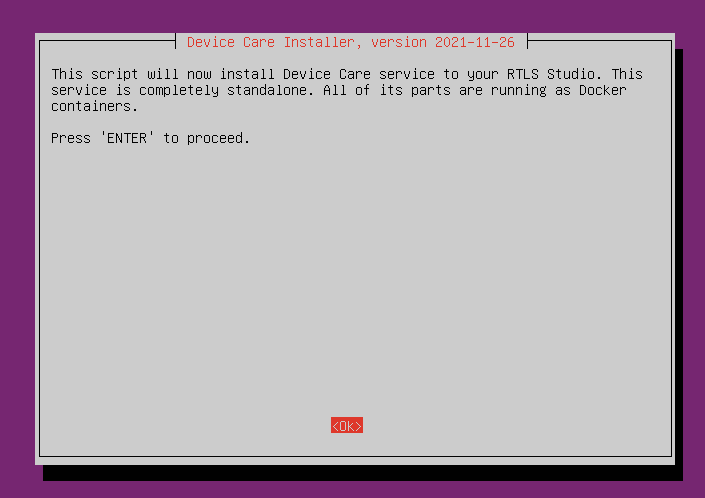
- Follow the instructions of the installation script by pressing OK
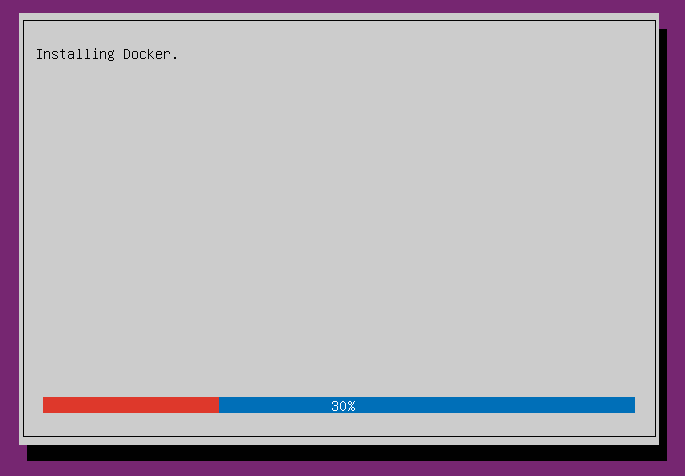
- Docker installation starts.
- When Docker installation is done. Add the Site ID
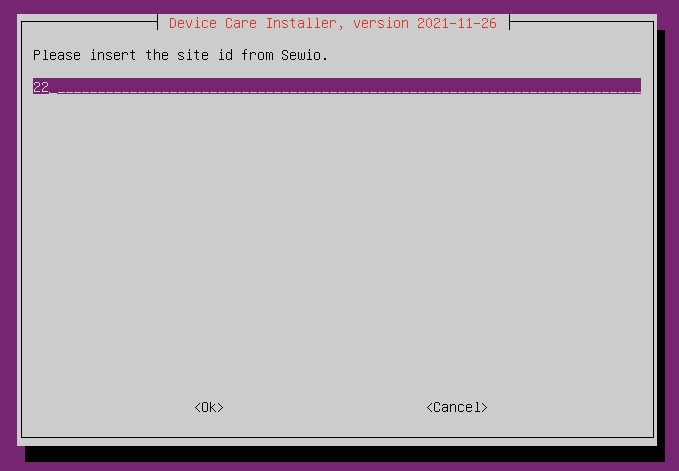
The Site ID you can find on myRTLS.com under the Site that was created for your project. In our example, the Site ID is 22.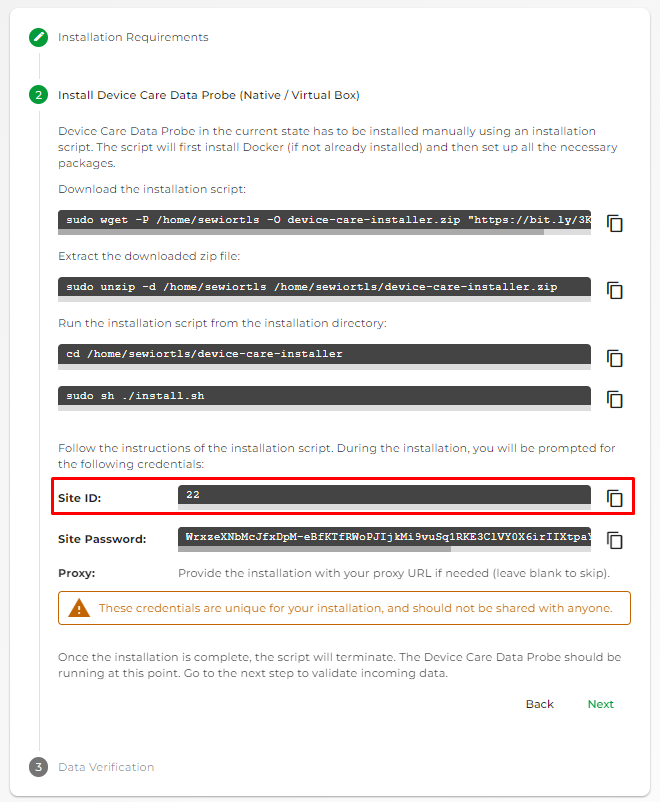
- Proceed by pressing Enter
Add the Site Password
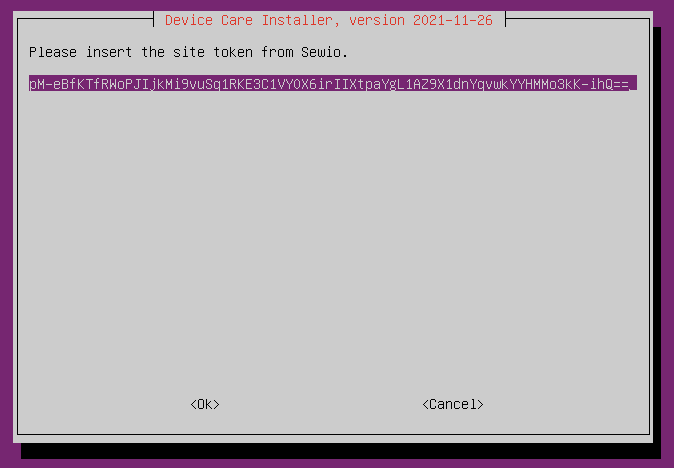
The Site password you can find on myRTLS.com under the Site that was created for your project.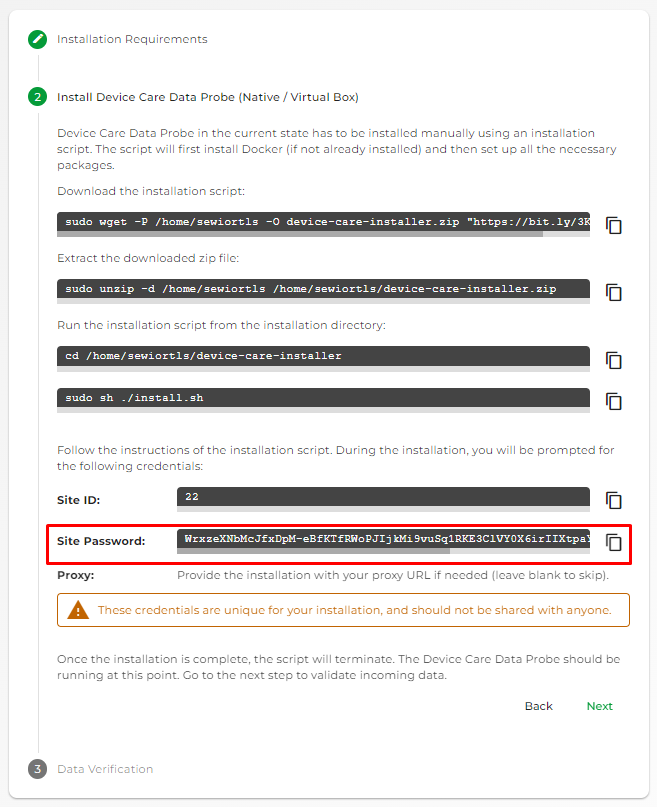
These credentials are unique for your installation, and should not be shared with anyone.
- Proceed by pressing Enter
- The script asks for your proxy URL. Leave empty if you don't need to use one.
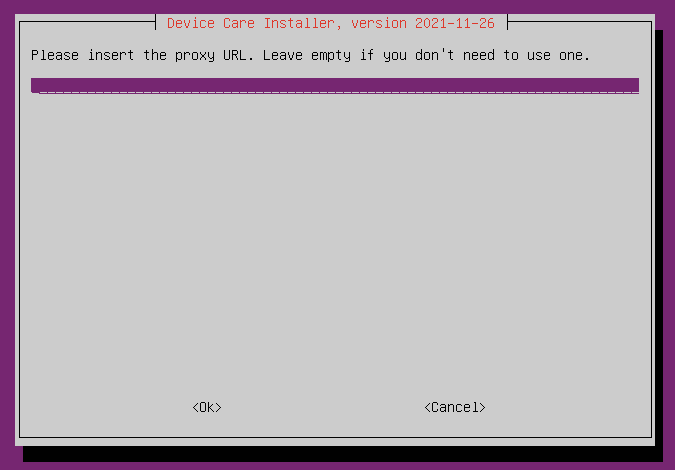
- Proceed by pressing Enter
- The installation will be completed.
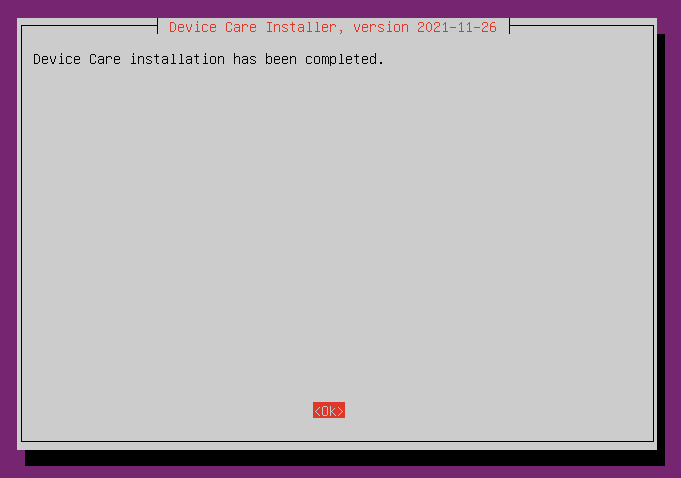
- Continue by pressing Enter
- Once the installation is complete, the script will terminate. The Device Care Data Probe should be running at this point.
- Go to myRTLS.com to the site. Click Next on the Download Installation package
- Finish the Device Care Data Probe installation on myRTLS.com by Data Verification.
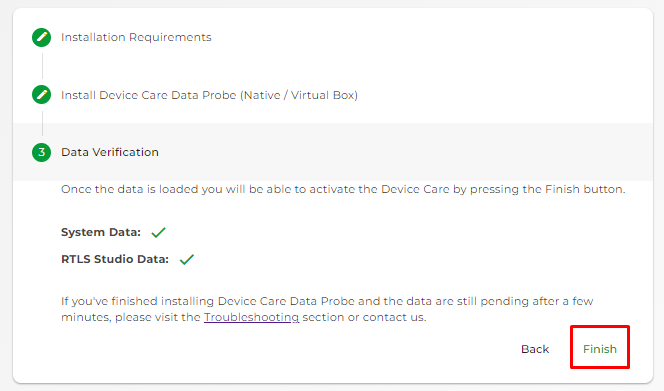
- You will be redirected to Device Care Dashboard.