Zone Editor
Introduction
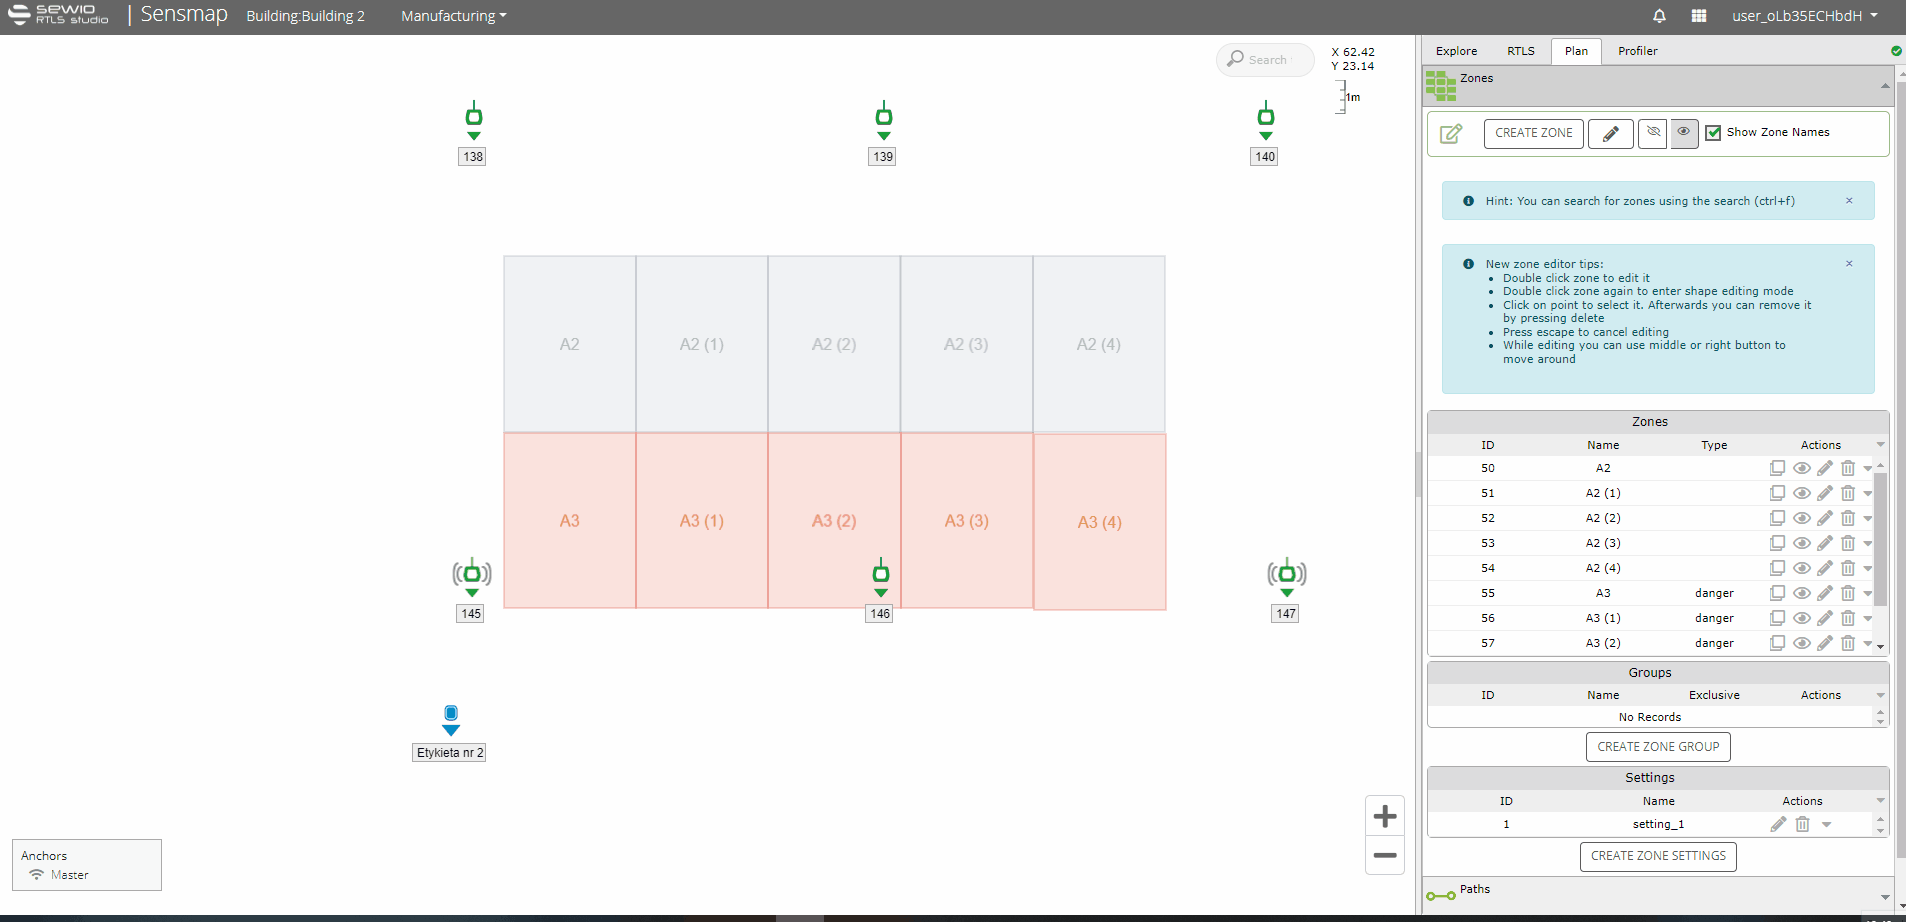
The Zone Editor, which has received a new look since Studio 3.3, is designed to provide users with control over the creation, editing, grouping, and setting of zones within their projects. Together with Advanced Zone Settings, it constitutes a powerful feature set in Sewio RTLS Studio.
The Zone Editor tool is designed to support Trackables, the monitoring and management of Work in Progress (WIP). Designated Zones establish specific areas within your facility for the pairing and unpairing of tags, ensuring that the process is efficient and reducing the risk of errors.
Key Features
- Creating a Zone
- Editing a Zone
- Zone Group Creation
- Zone Settings Creation
- Zone Names
1. Creating a Zone
Creating a zone in the Zone Editor is a straightforward process. Follow these steps:
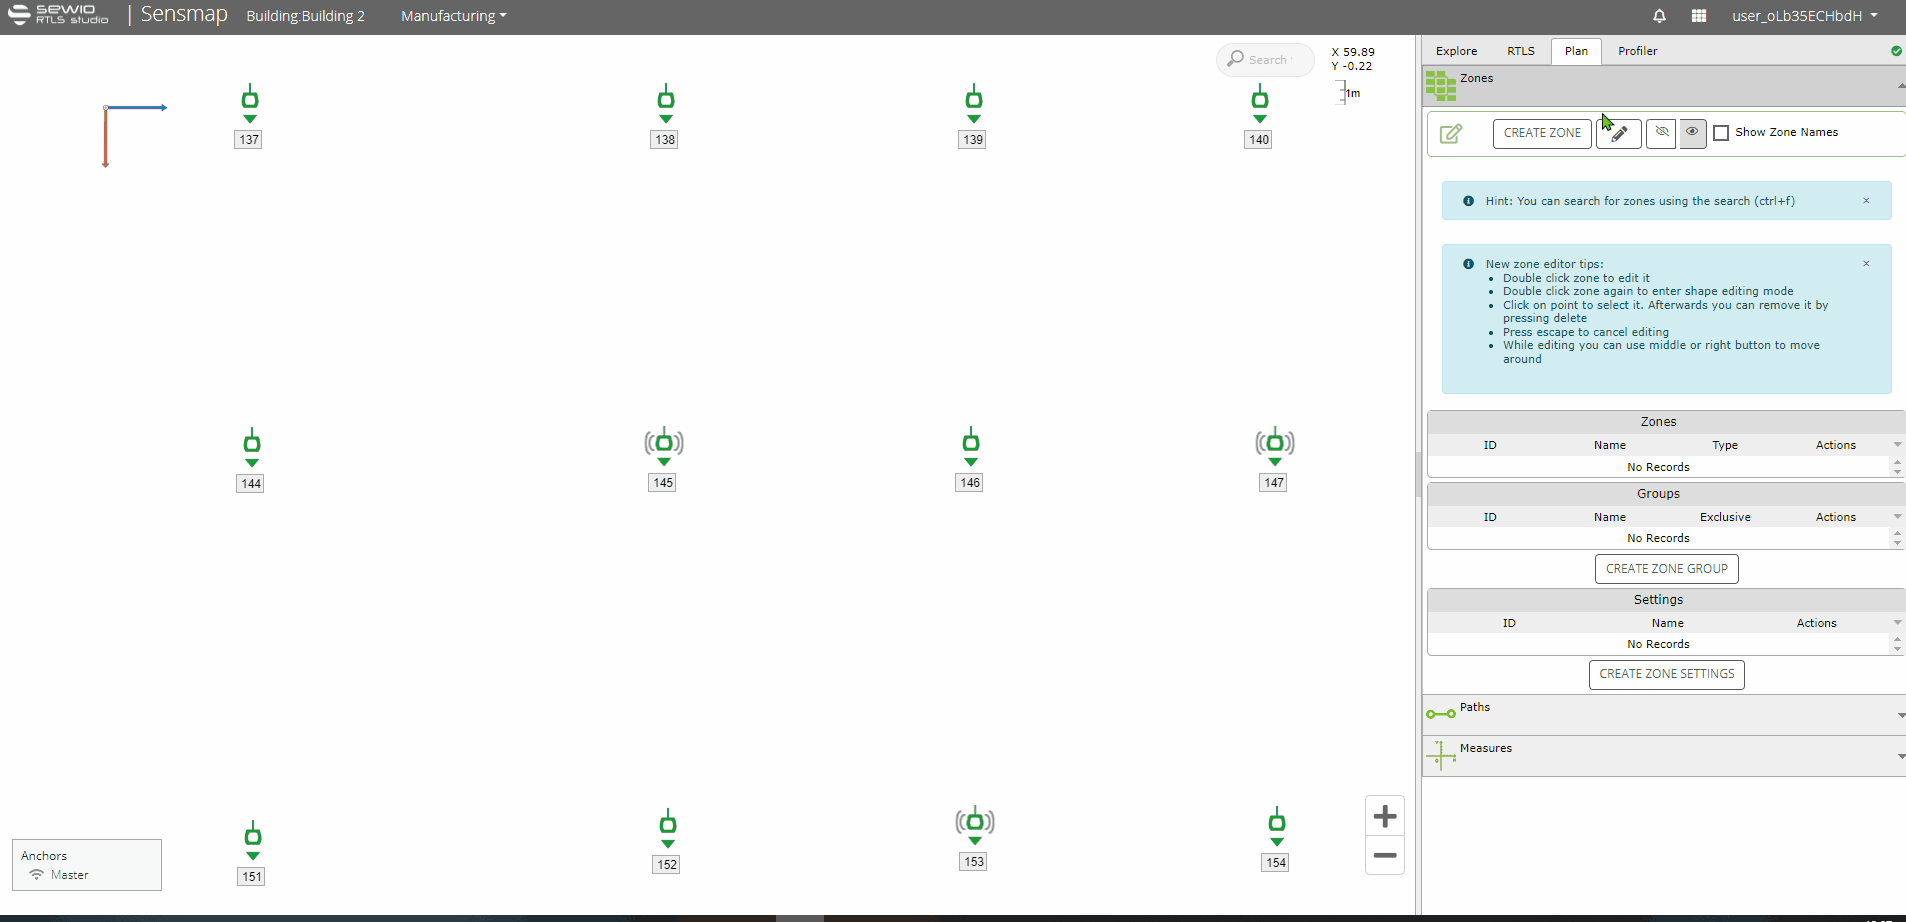
- Open Sensmap: Navigate to the tab Plan where you can find the Zones Editor.
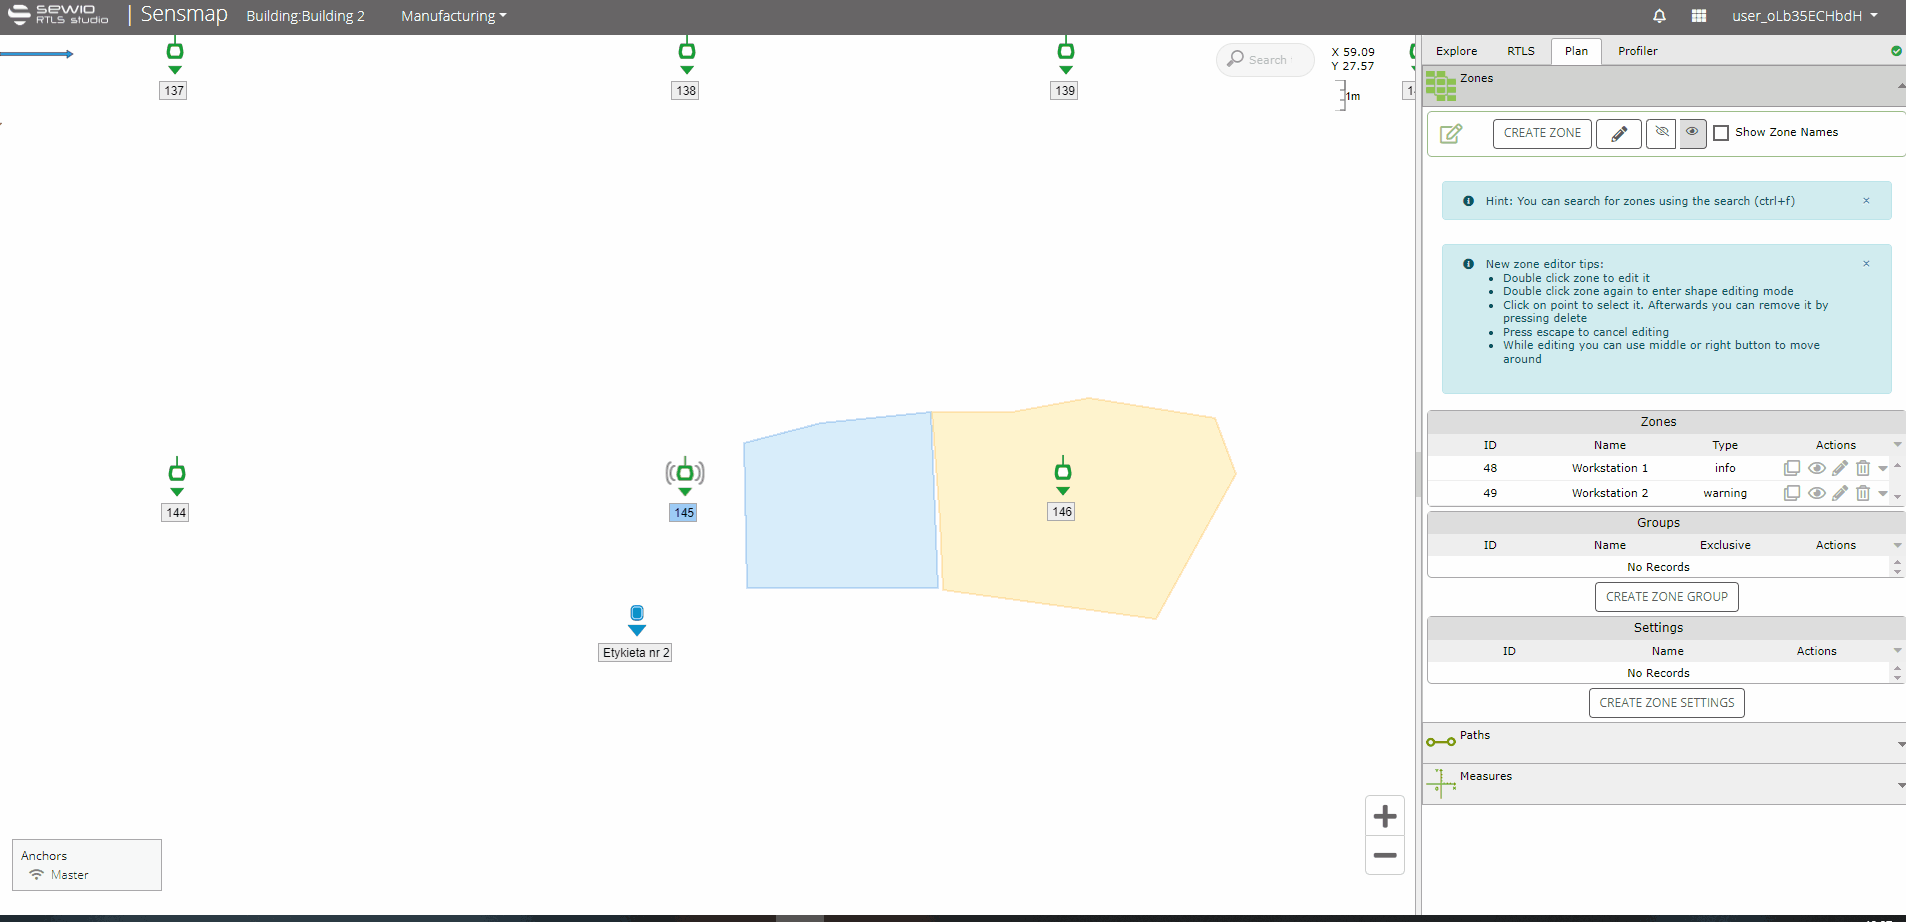
- Create a New Zone: Click on the "Create Zone" button.
- Define Zone Parameters:
- Draw Zone on Sensmap: Outline the zone on the map.
- Add Name: Enter a unique name for the zone.
- Add Other Parameters: Specify additional settings as required, such as zone settings or pre-in zone configurations.
- Confirm and Save: Once all parameters are set, click "Save" to create the zone.
Editor Tips
- Double-click the zone to edit it.
- Double-click the zone again to enter shape editing mode.
- Use SHIFT during drawing to keep straight lines.
- Click on a point to select it; press delete to remove it.
- Press escape to cancel editing.
- While editing, you can use the middle or right button to move around.
- Ensure the zone name is descriptive to easily identify it later.
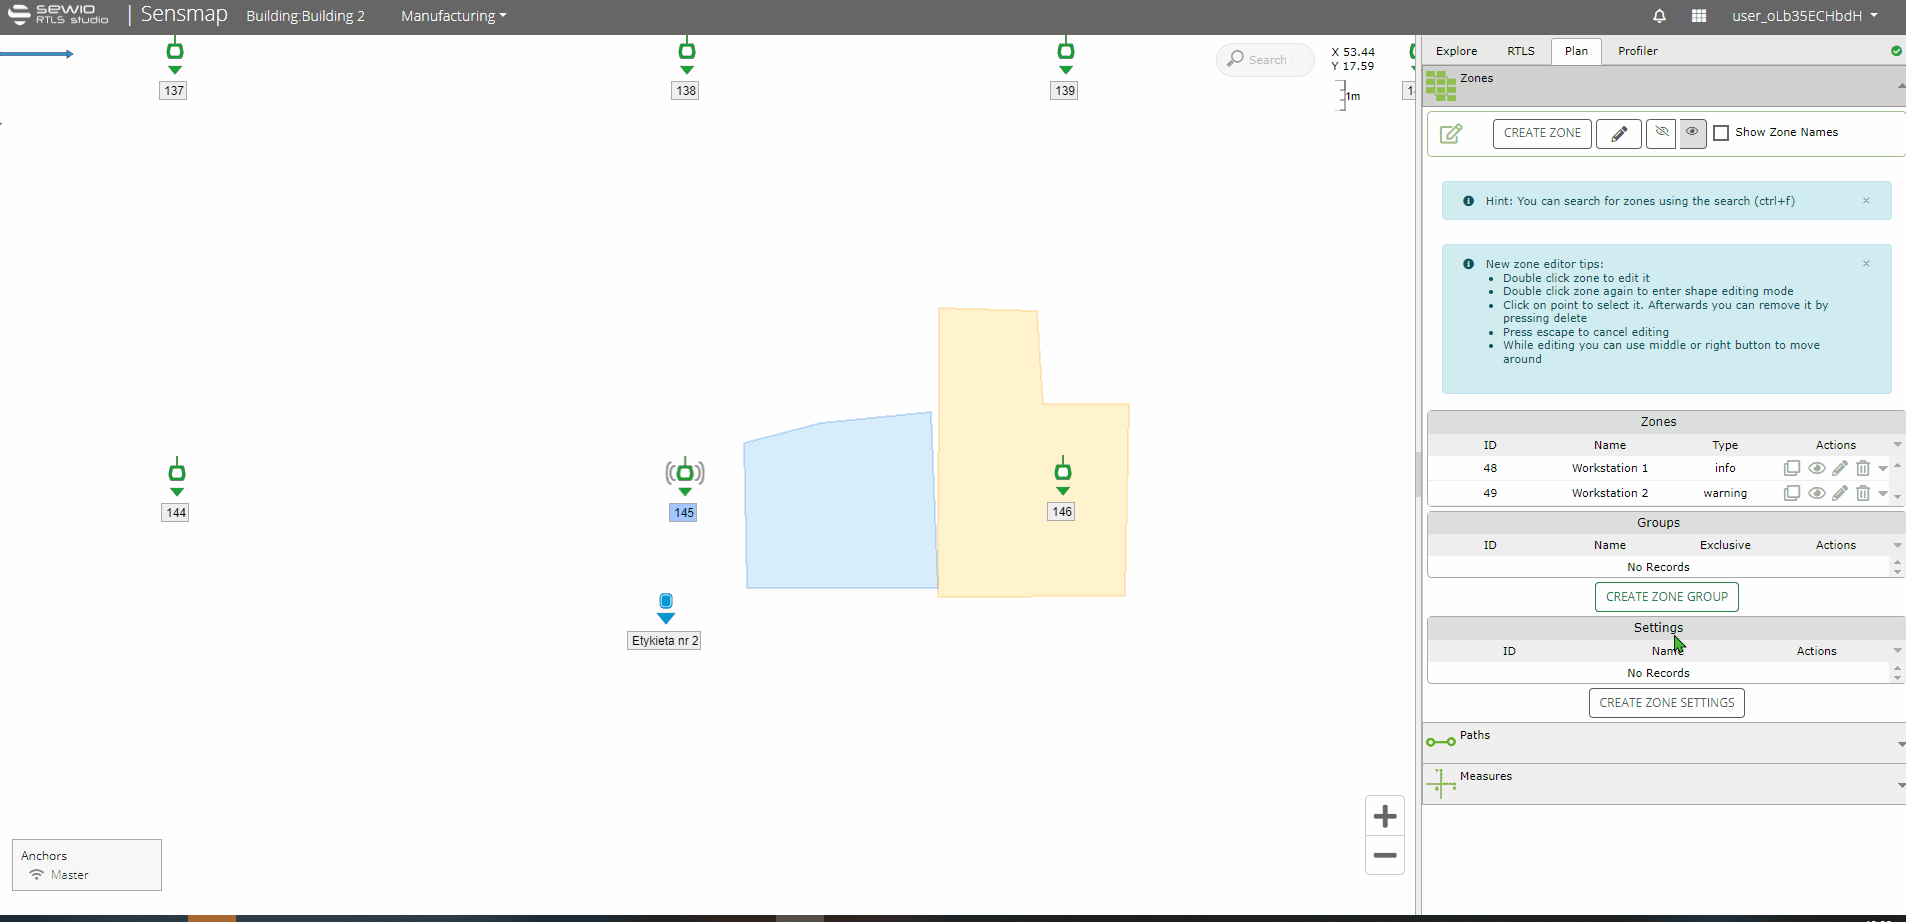
2. Editing a Zone
To edit an existing zone, follow these steps:
- Open Sensmap: Navigate to the tab Plan where you can find the Zones Editor.
- Edit Existing Zone: Click on the "Edit Zone" button.

- Select the Zone: Navigate to the list of zones and select the zone you wish to edit.
- Modify Zone Parameters:
- Modify Zone: Adjust the size, shape, or rotate as required.

- Location: Change the coordinates to reposition the zone.
- Adjust Other Parameters: Modify additional settings such as the name, zone settings, or pre-in zone configurations.
- Modify Zone: Adjust the size, shape, or rotate as required.
- Save Changes: Click "Save" to save the advanced zone settings.
The new zone editor in Studio 3.3, enables also copy/duplicate a zone:
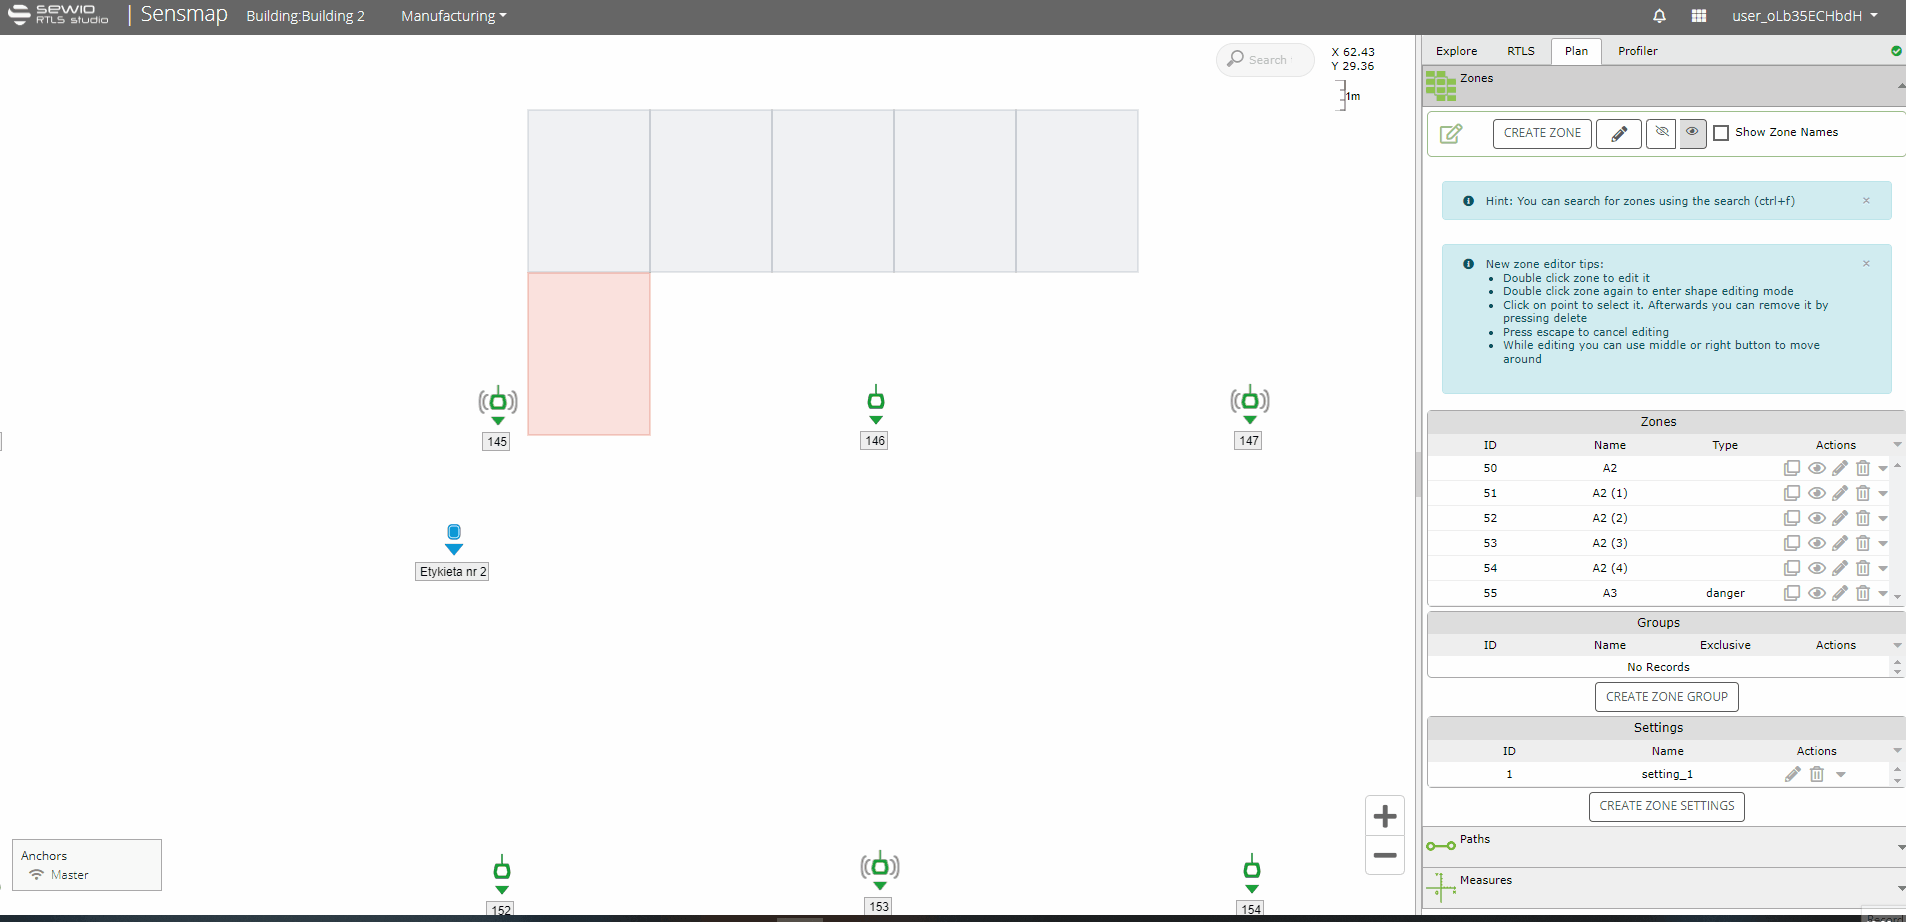
3. Zone Settings Creation
Advanced zone settings can be applied to each zone to manage zone_IN and zone_OUT events, even in harsh environments.
Advanced Zones enable you to create different settings for single zones or groups of zones. In the settings, you can define parameters such as the number of In Count or Out Count blinks, and set interval settings for In Interval, Out Interval, Pre-in Interval, or Out Timeout.
Parameters used are described in the Advanced Zone Parameters section.
Follow these steps to create zone settings:
- Open Sensmap: Navigate to the tab Plan where you can find the Zones Editor.
- Create a New Advanced Zone Setting: Click on the "CREATE ZONE SETTING" button.
- Add Name: Provide a name for the setting.
- Define Parameters: Set advanced zone parameters as required.
- Create New Setting: Click on the "Create Setting" button.
- Confirm and Save: Once all parameters are set, click "Save" to create the zone setting.
- Edit Existing Zone: Click on the "Edit Zone" button.
- Assign the Setting: Add the advanced zone setting to the given zone.
- Save Changes: Click "Save" to apply the modifications to the zone.
4. Zone Group Creation
If you have created more zones in Sensmap you can add them into a group. At the moment, The Zone Group brings two options:
- Exclusive → by adding atribut Exclusive for a group of zone, a tag can be IN only one zone from this group at the same time
- Zone Visibility → you can hide or display zones within the group on Sensmap. For example: all zones related to Production line 1
Here’s how to create a zone group:
- Open Sensmap: Navigate to tab Plan where can find Zones Editor
- Create a new Zone Group: Click on the "CREATE ZONE GROUP" button.
- Add name: Provide a name for the group zone.
- Select zones: Select all zone required for the group zone.
- Exclusivity: If required, tick the check box to make zones in the group zome exclusive
- Confirm and Save: Click "Save" to create the group.
5. Zone Names
From Studio 3.2, you have the capability to display zone names on Sensmap, enhancing user orientation. A component of this recent feature includes the ability to utilize 'Ctrl+F' for zone searching.
