Setting Up Sensmap
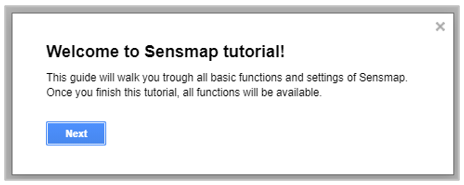
When you are in Sensmap for the first time, a Sensmap tutorial guides you through the first steps.
The Sensmap tutorial will remain active until you pass all the steps. You may drop it at any time by clicking the Cancel button or by pressing the ESC key and running it again after you have refreshed the page.
- Launch the Sensmap Visualization tool from RTLS Studio by clicking its icon
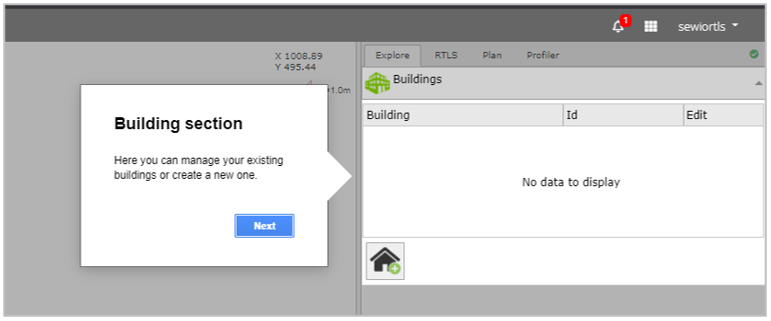
- Go to building setting
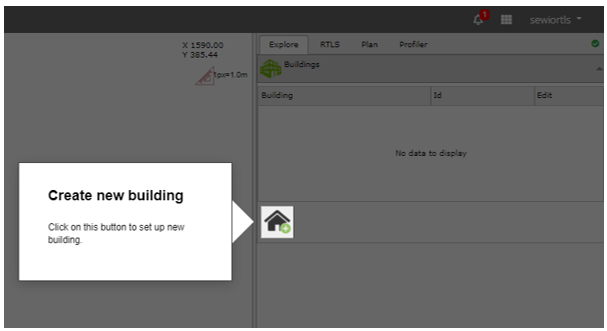
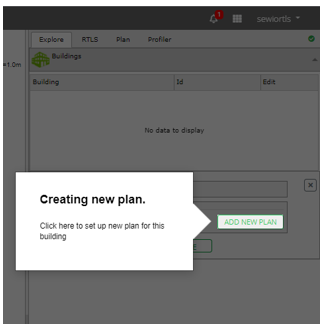
- Create a new building
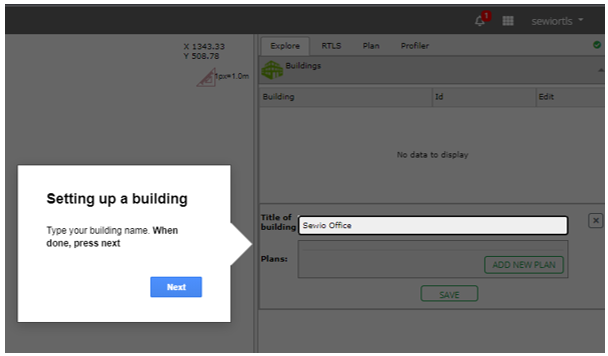
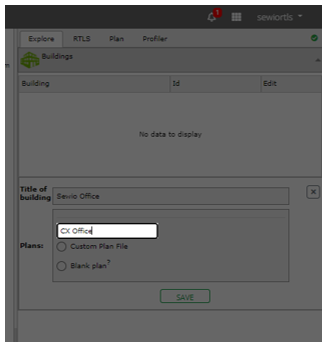
- Set up your building and add name
- Add a new plan
- Type the name of your floorplan
- Blank plan if you don't have an exact plan (for test purposes).
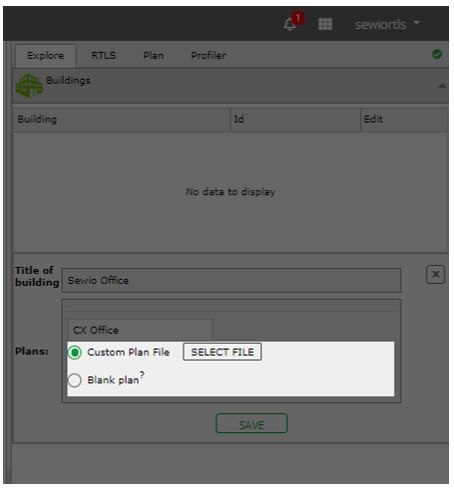
- Custom plan file, prepare the map layout of your building in JPG or PNG format. The plan must have precise proportions and should not be larger than 5 MB. If you don't have a floor plan you can choose a blank plan
- Select the floorplan from your laptop via the SELECTED FILE button
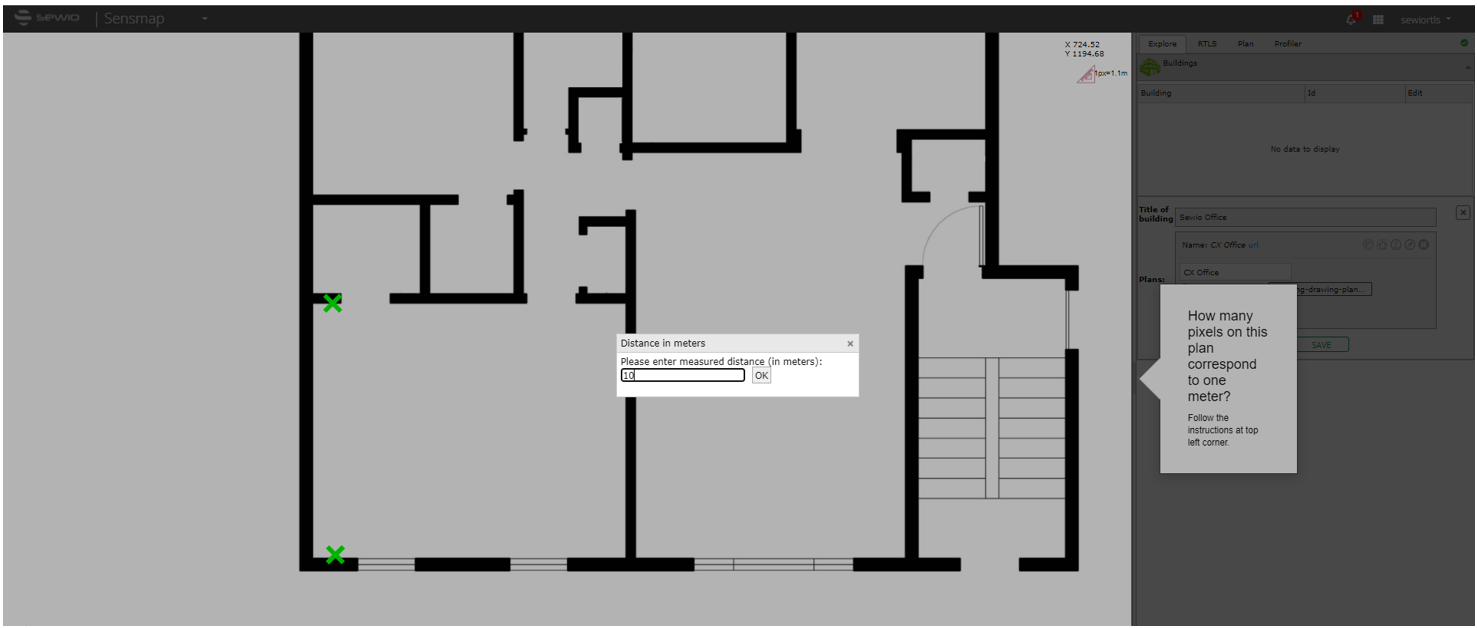
- Define the scale of your plan via the SCALE button
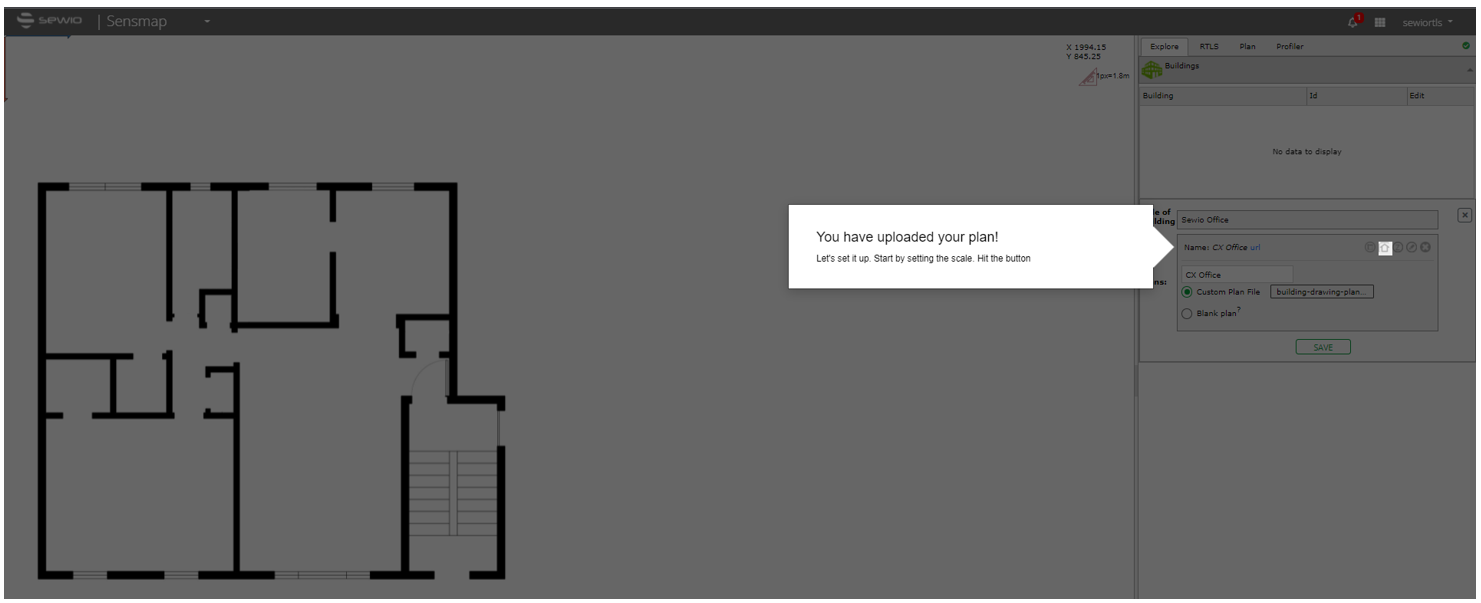
- Define two points on the floorplan and enter the measured distance in meters
- Save your building

- You can measure anchors coordinates via laser meter and put them into Sensmap manually or you may try to use Anchors Auto-Deployment feature, currently in Beta stage.
Precise Anchors’ coordinates in centimeter accuracy level are crucial for precise positioning.