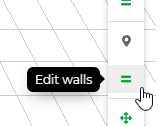
Walls Manipulation
Walls are necessary for RTLS Planner to calculate the Dilution of Precision more accurately. It is also a good idea to annotate all the known walls to get the best support from our team (the more we know, the better we can help you).
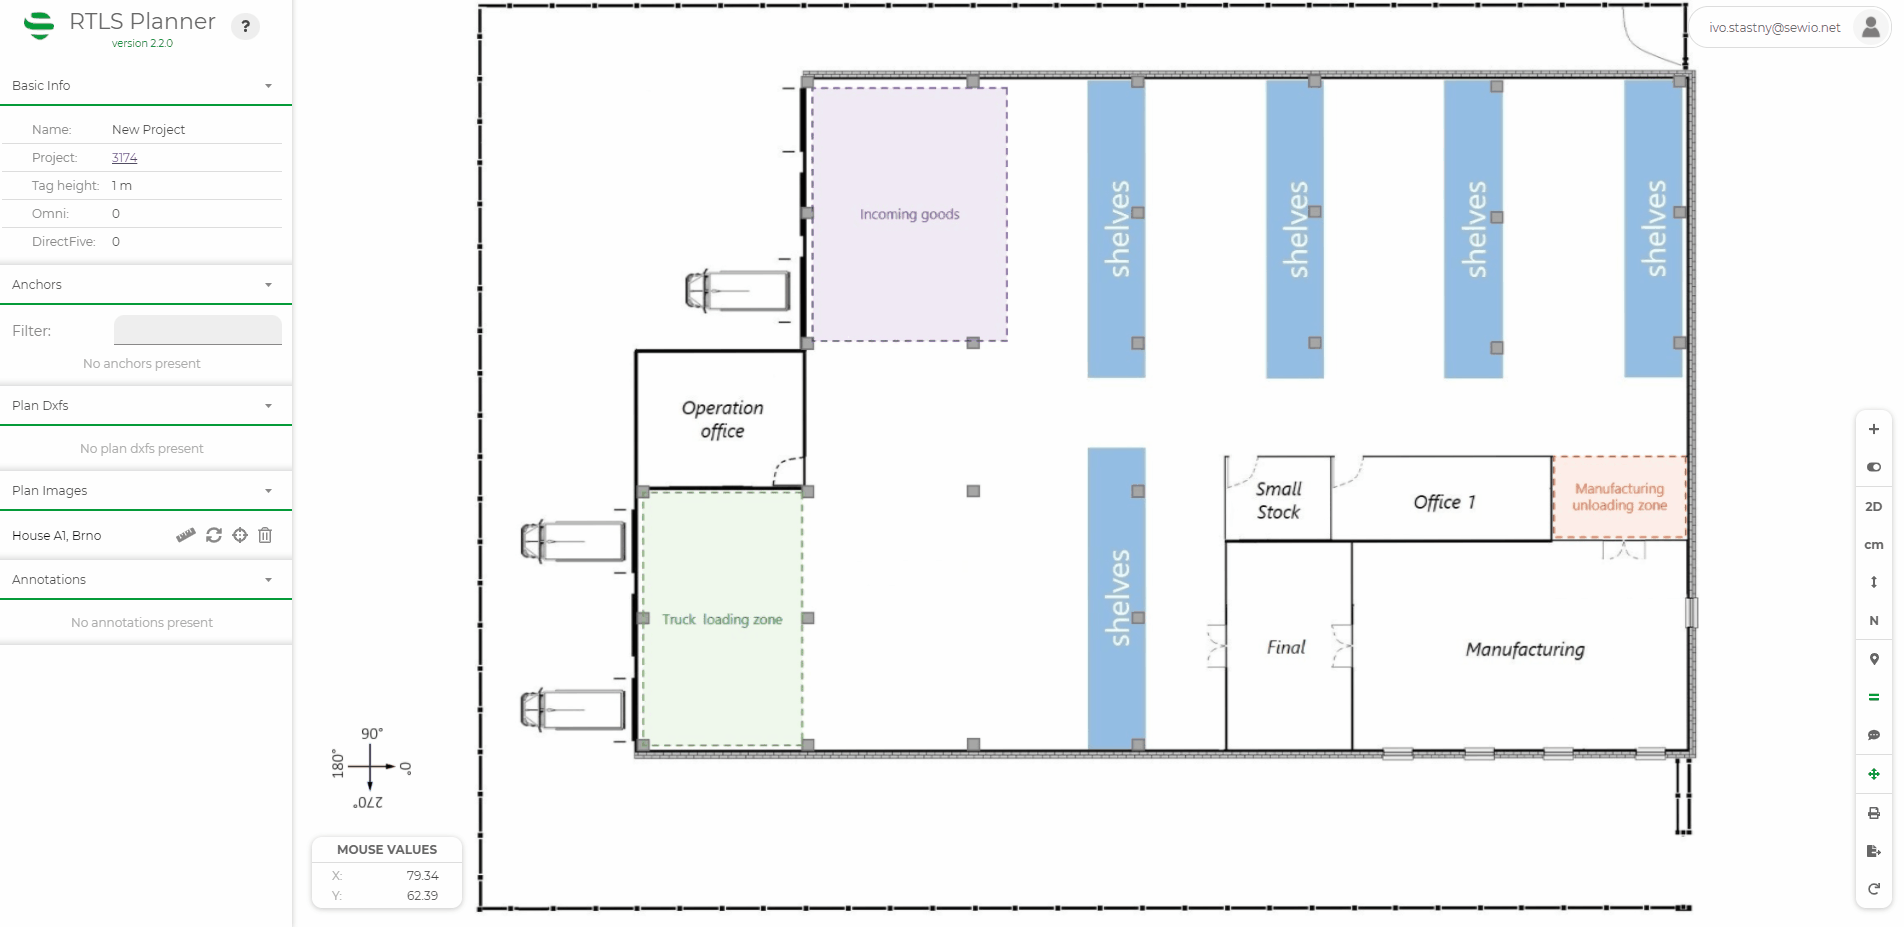
This page describes the basic principles of wall manipulation.
Walls Creation
To add walls to the plan click on the "![]() " button and select walls from the list.
" button and select walls from the list.

Adding walls is a little bit different from adding backgrounds and anchors because you can continuously add as many walls as you need without the need to click the icon again.
Once you are in a wall creation mode, you can draw walls by clicking on the plan.
The first click always starts a wall and the second click ends it.
You can set the properties of the walls on the Editation panel. These values will be applied to every finished wall.
Once you are done drawing walls, hit "ESC" or press  .
.
If you hold "SHIFT" while drawing a wall, it will be parallel with the x or y-axis depending on your mouse position.
Wall Selection, Placement, and Modification
For wall selection and editing, you have to be switched to wall edit mode.
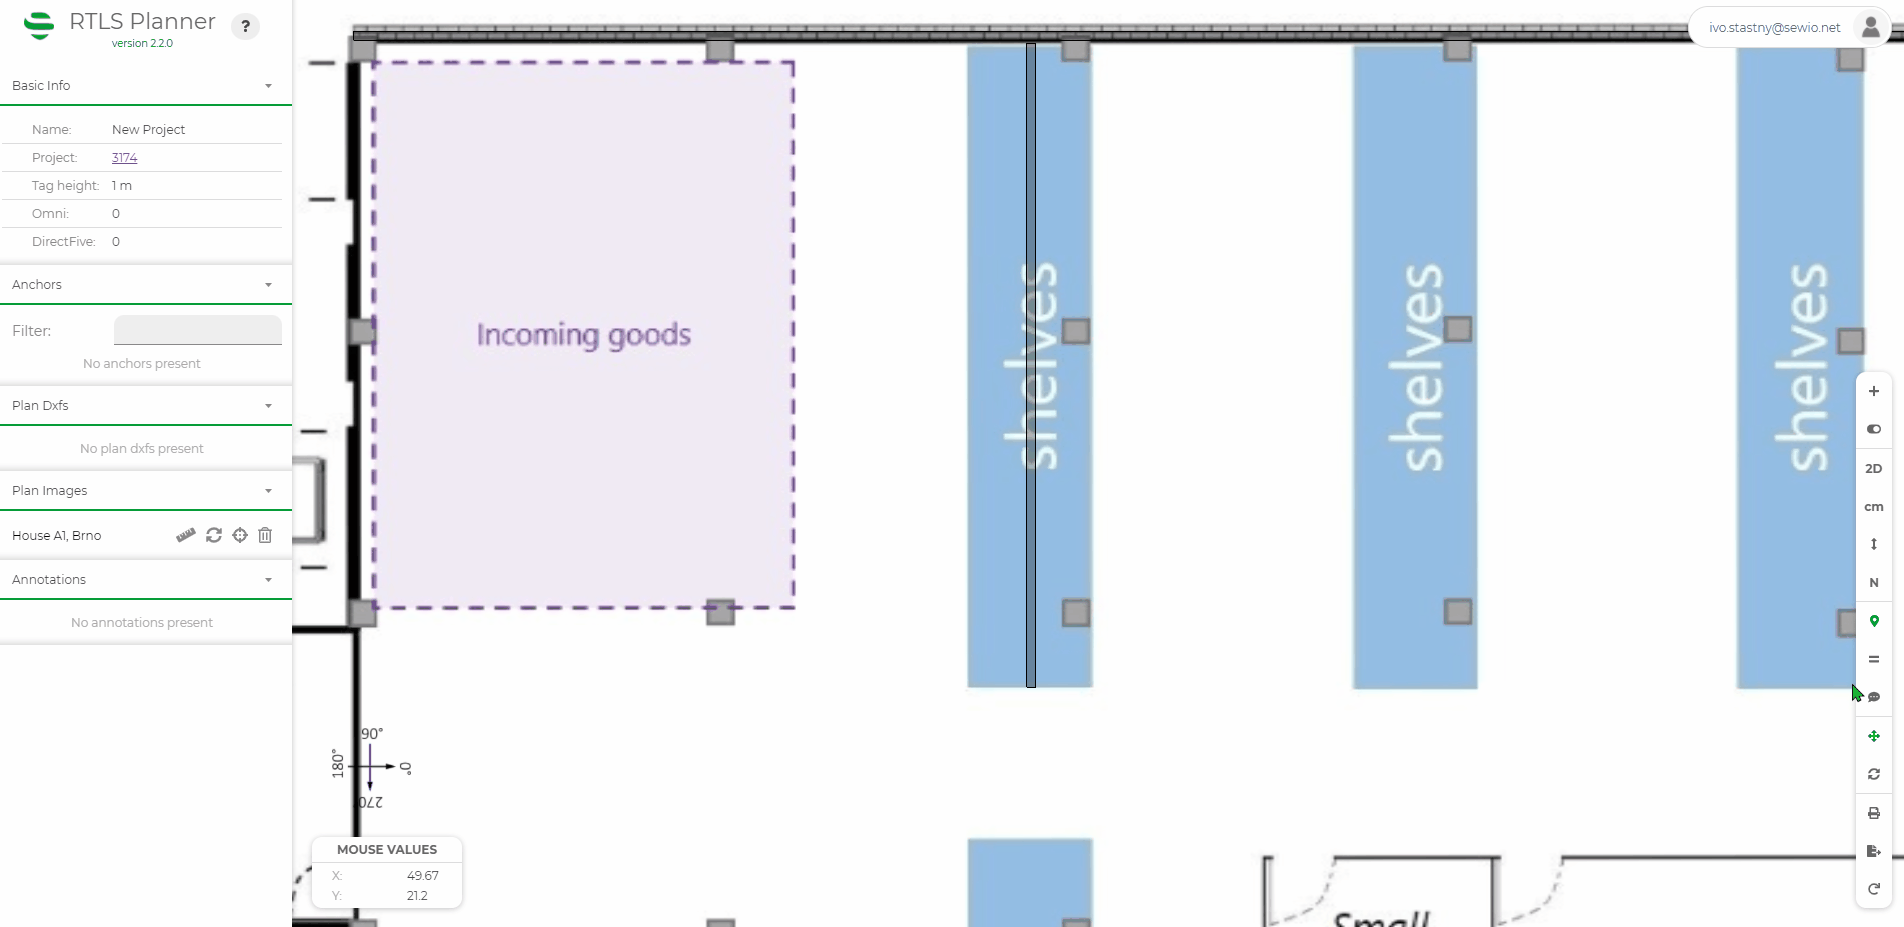
You can select walls by clicking on one of its ends (there should be a red box near the end of the wall you are selecting). This will allow you to only edit that selected end.
You can also select the wall by clicking on its center. This will select the whole wall (both ends).
To select all walls, press "CTRL + A".
The last option is to select walls by dragging in the 2D view. Using this method, you are able to select multiple ends of multiple walls.
You can change the wall parameters (height, width) in the Editing panel.
Walls are deselected by pressing "ESC" or the  button.
Wall Duplication
To duplicate the walls, move them to the desired position and press the "D" on your keyboard or "![]() " button on the control panel while the walls are still selected and not yet saved.
" button on the control panel while the walls are still selected and not yet saved.

Wall Deletion
Walls could be deleted by selecting them and pressing the "Delete" button or by pressing the "![]() " button on the control panel.
" button on the control panel.
On this page: