Setting Up DHCP Server
DHCP Server used in our deployments is an instance of isc-dhcp-server. For more information on advanced configuration and options see the official documentation.
DHCP Server is controlled from RTLS Manager.
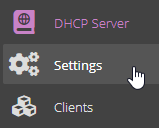
There are two new menu tabs: DHCP Server Settings and DHCP Server Clients.
The DHCP Server is initially disabled. To be able to enable it, you need to configure it first.
Navigate to DHCP Server Settings and select an interface for your DHCP Server.
There should not be another DHCP Server on the interface's network. The DHCP Server will check this when you try to enable it.
There are two configuration options: Simple Settings and Advanced Settings.
Simple Settings allows you to set the most basic parameters of your DHCP Server necessary for simple anchor deployment.
Advanced Settings gives you access to the DHCP Server configuration file. This gives you options to customize the DHCP Server to your needs.
Changing the configuration file via Advanced Settings may disable the Simple Settings option.
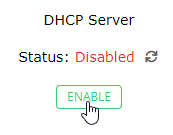
After you set the DHCP Server configuration, to enable the DHCP Server simply press the ENABLE button.
If everything went well the DHCP Server should be enabled and will start after the server is rebooted.
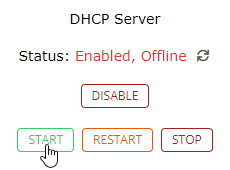
To manually start it press the START button.
If the configuration of the DHCP Server is valid the status should be changed to Enabled, Online.
This means the DHCP Server is up and running.
To check the current leases navigate to DHCP Server Clients tab.


