Anchor Coordinates Import
To deliver high accuracy, all anchor coordinates must be added to Sensmap with the precision of +/- 3cm.
Since Studio 3.0 you can import coordinates of all anchors from a DXF or a CSV file. If you have older Studio version you have to add the coordinates manually.
Prerequisite
To successfully import coordinates to Sensmap, you must have all anchors online in the RTLS Manager and ideally, all anchors have got aliases assigned.
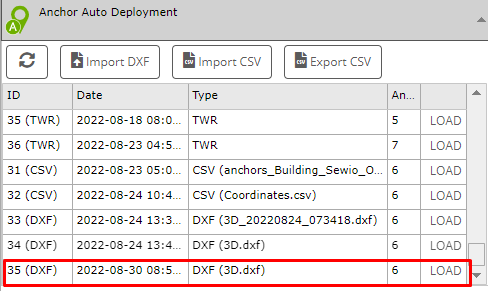
See below Anchor Summary with six anchors online:

Anchor Coordinates Import
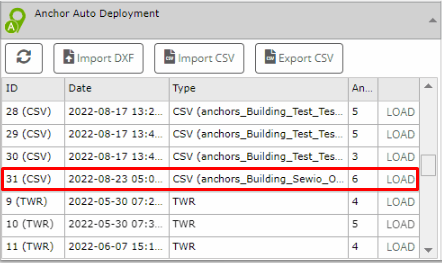
Go to Sensmap and in the RTLS tab you can find Anchor Auto Deployment with import and export buttons.
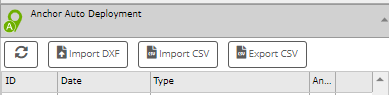
The supported formats are DXF a CSV. Follow the steps below based on a format you would like to use:
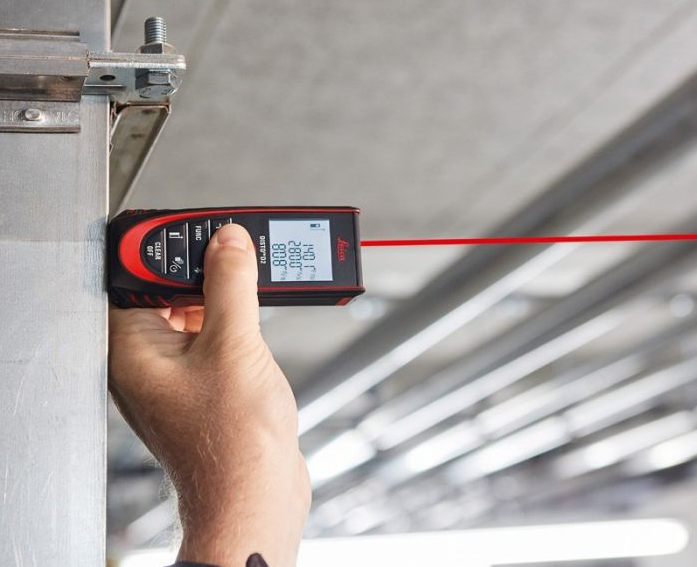
The best way how to measure all the anchors on the site is by e.g., Leica geosystem or any other similar tool with DXF support. With tools like this, you can measure the anchor coordinates with high precision and save your measurement to a DXF file.
See the steps below on how to import a DXF file and add all the anchors to Sensmap:
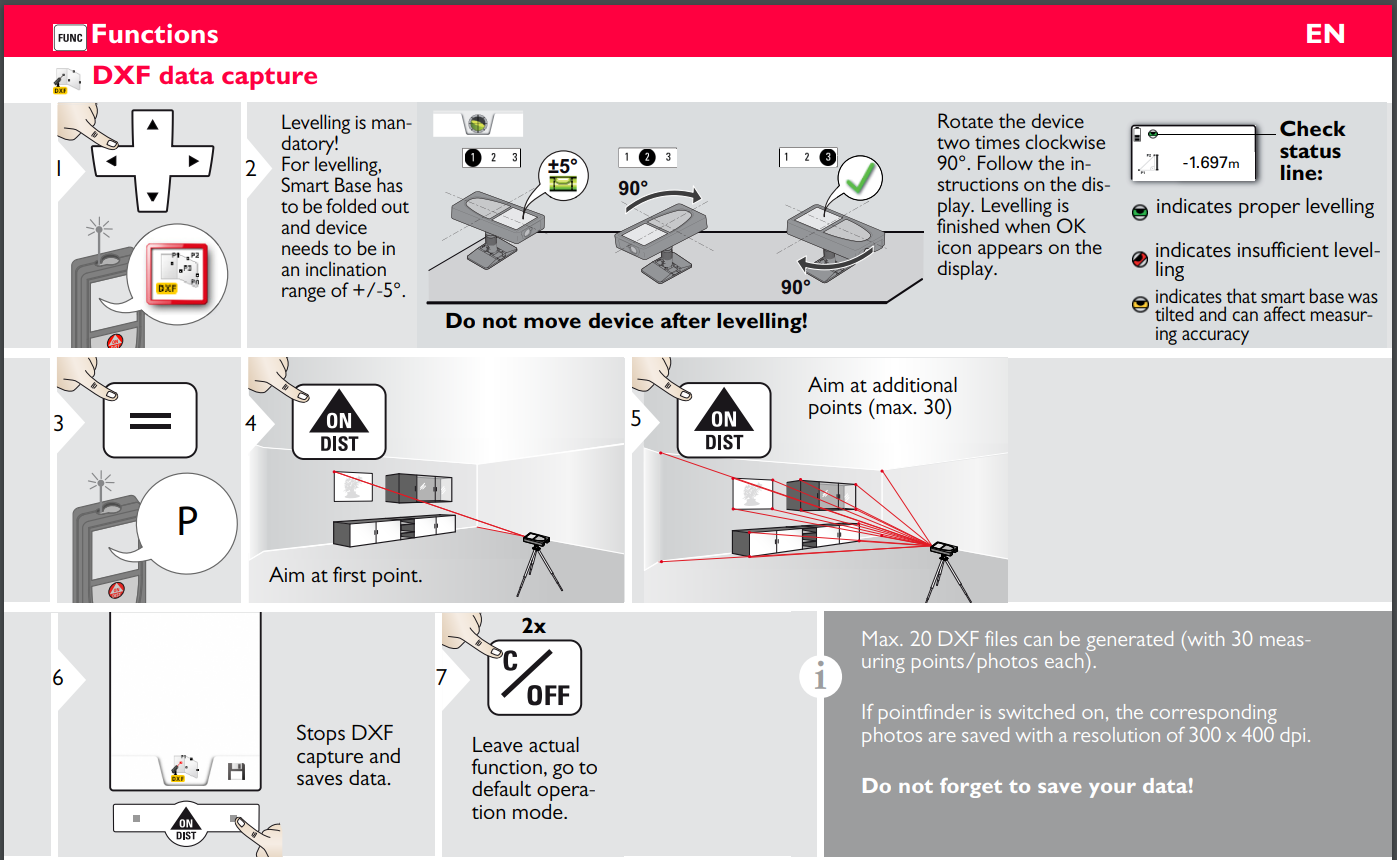
1) Measure the anchors with a tool supporting DXF output. In our case below, we use Leica Disco S900 and its function DXF data capture.
2) Connect your Leica to a laptop via USB cable and download the DXF file (3D) from your last measurement.
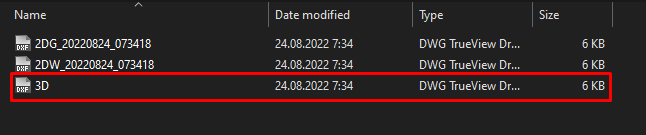
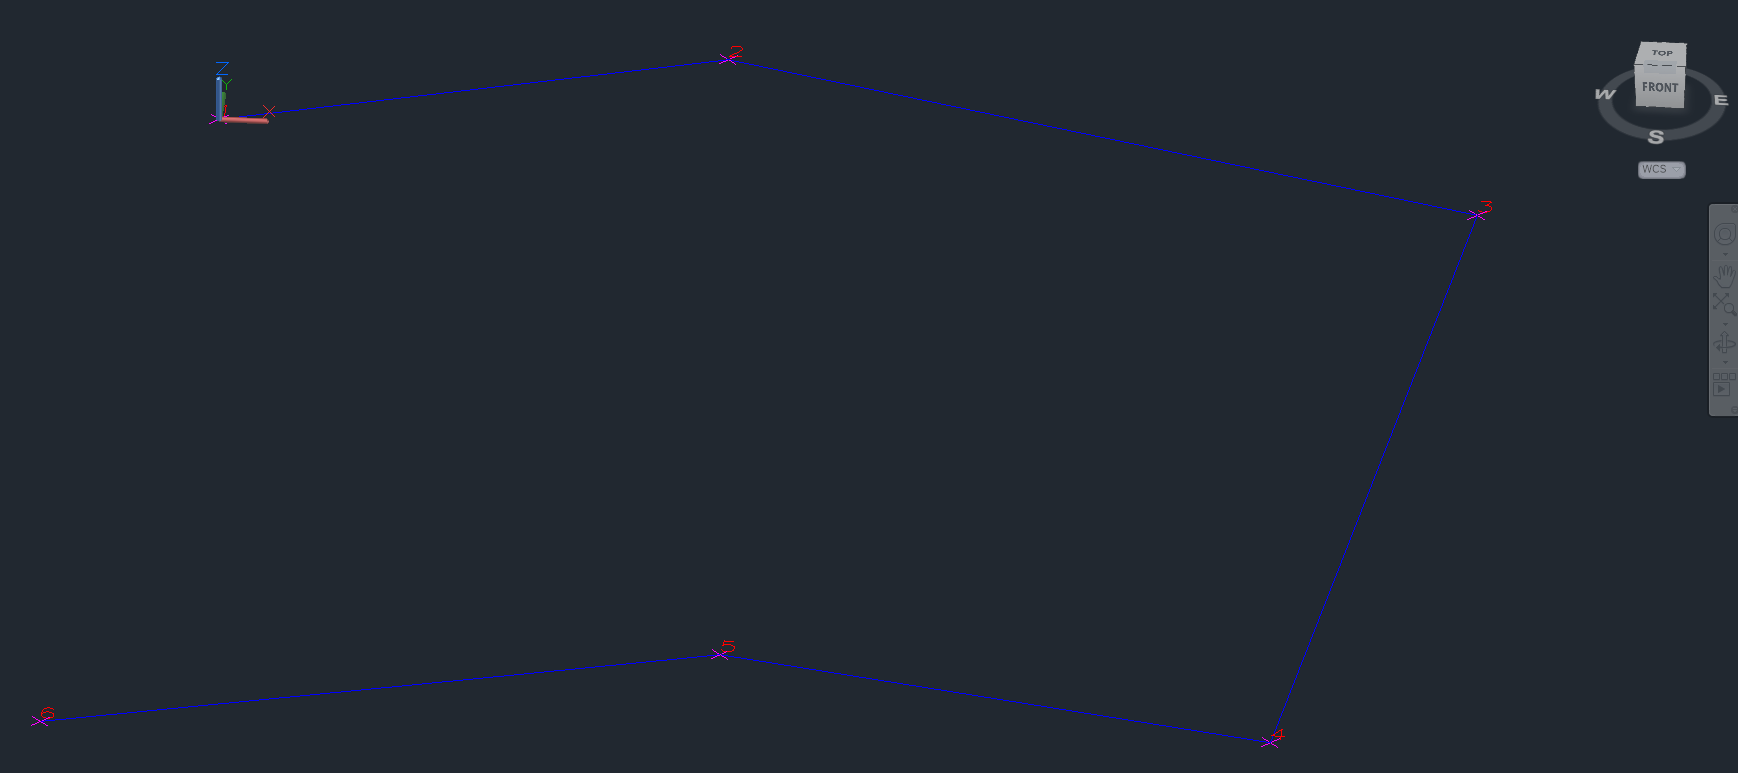
If you open the 3D DXF file in any DWG viewer you can see the measurement and all measured points.
3) Edit the DXF file by renaming measured points from number (1 to n) to MAC address or Alias. You can do it for example in AutoCAD or Draftsight.
If you do not have any SW like that, you can open the DXF file in Notepad or Notepad++ and rename the measured points there.
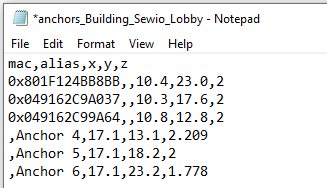
To rename the measuring point you need to search for the sequence of texts "LEICA_DISTO_ID", ""ByLayer", and "AcDbText". The measurement naming is below the sequence as shown on the picture below.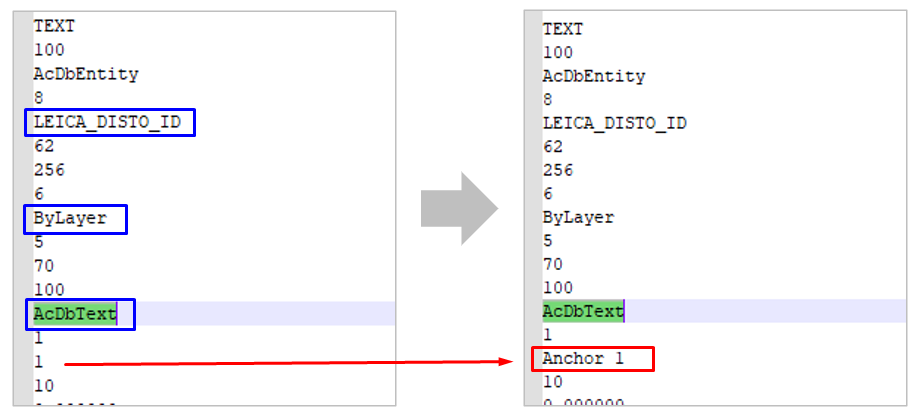 Rename all the measured points. The repetition of the sequence corresponds to the number of measurements you have done.
See the renaming of 6 anchors in Notepad++ here:
4) Save the changes
5) Import the DXF File via the Import DXF button and load the anchor deployment
Follow the steps below to import coordinates in a CSV file:
The steps below assume that the prerequisites above have been done = anchors are online and reachable by RTLS Studio.
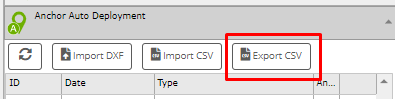
1) Download a CSV template by clicking on the Export CSV button
 2) Open the CSV file in Notepad
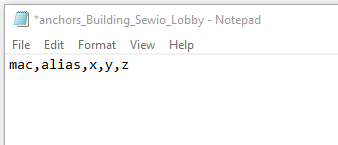
3) Edit the CSV file by adding MAC, Alias, and coordinates [x,y,z]
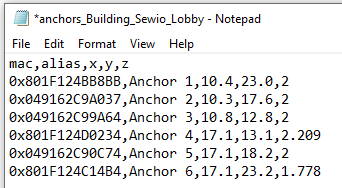
Always separate with a comma.
If the file includes semicolons or quotation marks it will not be accepted. The picture above is the correct format.
You can add only MAC or Alias.
If you add only one from those two parameters, you must keep the empty space separated by a comma as well. See an example below:
4) Save the changes
5) Import the CSV File via the Import CSV button and load the anchor deployment
The manual adjustment is required for RTLS Studio 2.6 and lower. Also, it could be used for Studio 3.0 for a partial adjustment of a single anchor.
The steps to add the coordinates manually are:
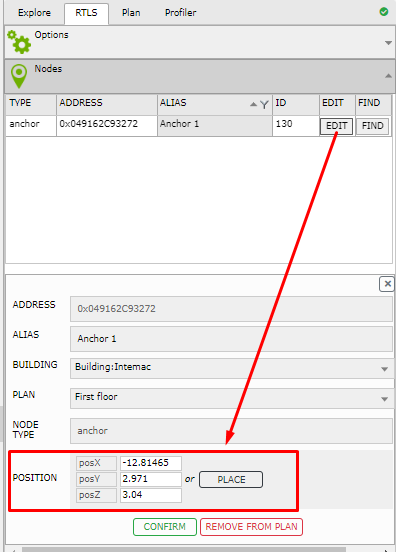
1) Go to Sensmap to RTLS Tab, section Nodes
2) Find the required anchor and press a button Edit
3) Add x, y, z coordinates for the given anchor
4) Confirm the changes
On this page: