Changelog
4.0.0
Single Sign On
RTLS Planner now uses Sewio single sign on.
Use your myRTLS credentials to access it. Users that do not have separate myRTLS credentials should be able to use their Partner Portal credentials.
Platforms
RTLS Planner now supports multiple platforms. You can choose the desired platform when adding new devices.
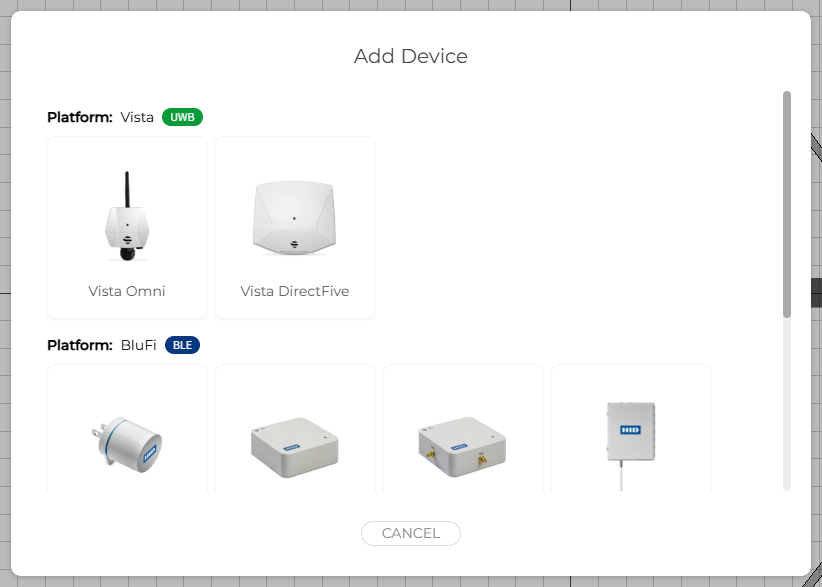
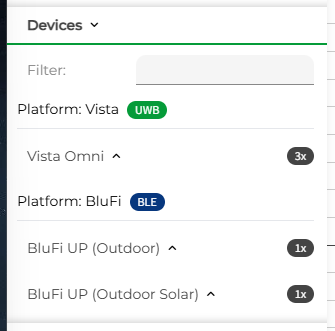
All platforms and counts of each device type are listed in the Devices panel on the left. You can see the used technology in the badge next to each platform (UWB - Ultra Wide Band, BLE - Bluetooth Low Energy).
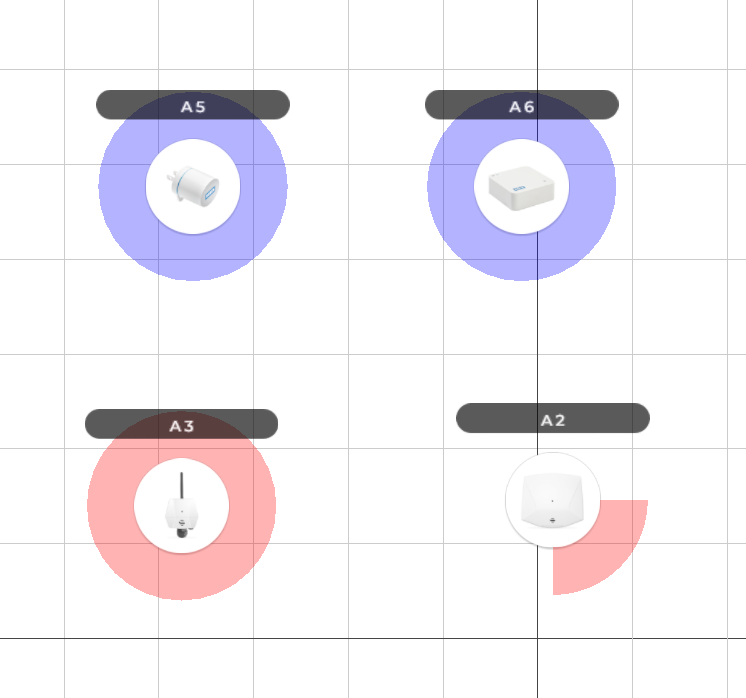
Each device type is also represented in the plan view by its coresponding image.
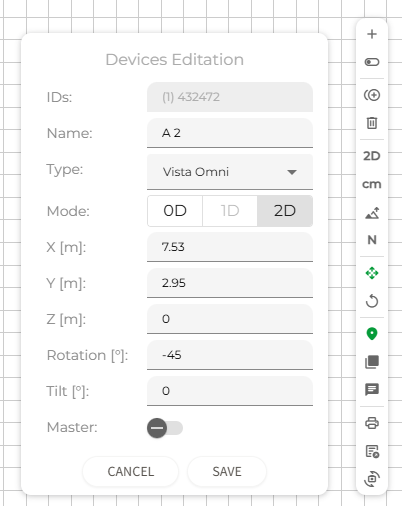
Device Editation
Toggle buttons for managing the devices has been moved from left panel to the selection editation box to be all at one place.
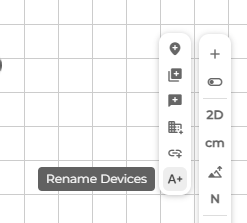
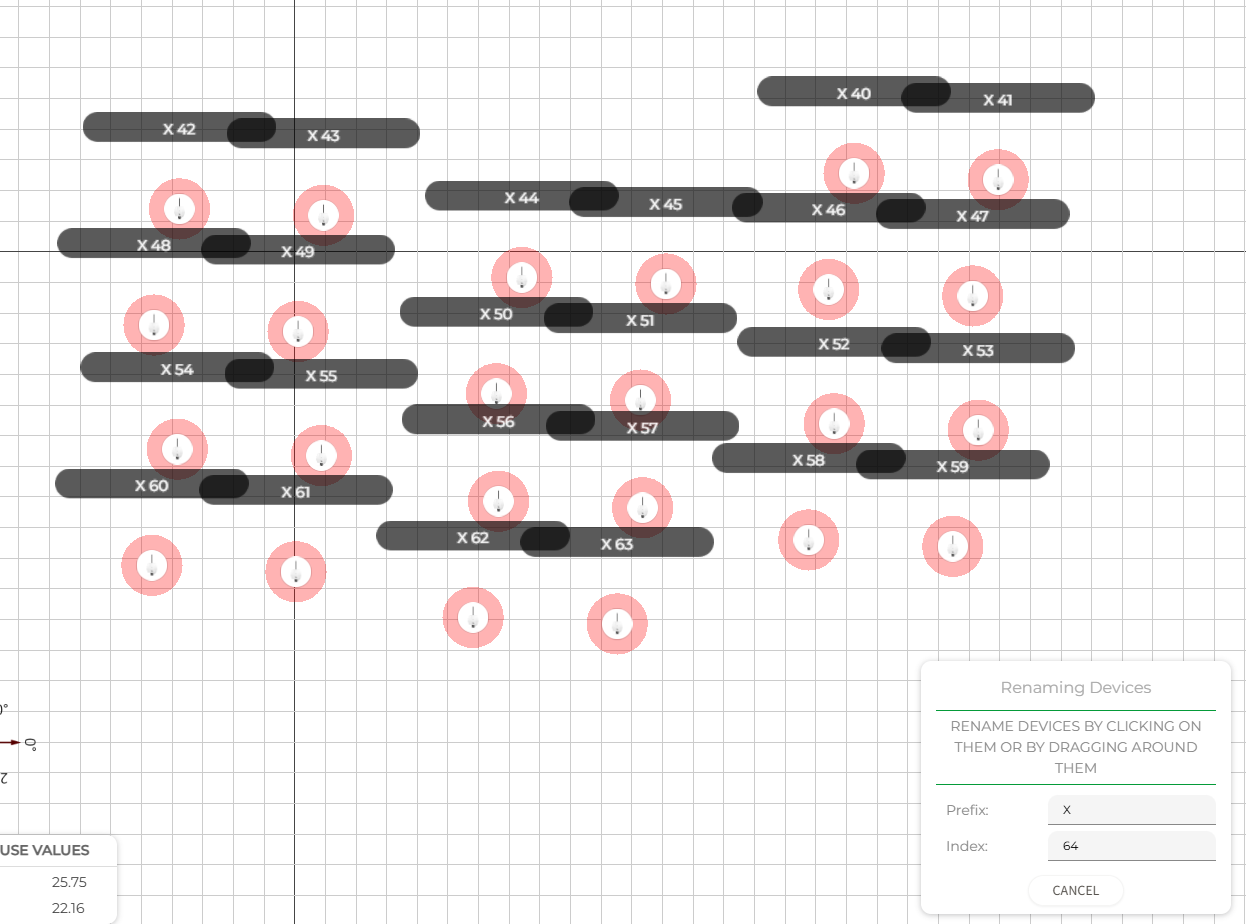
Group Rename
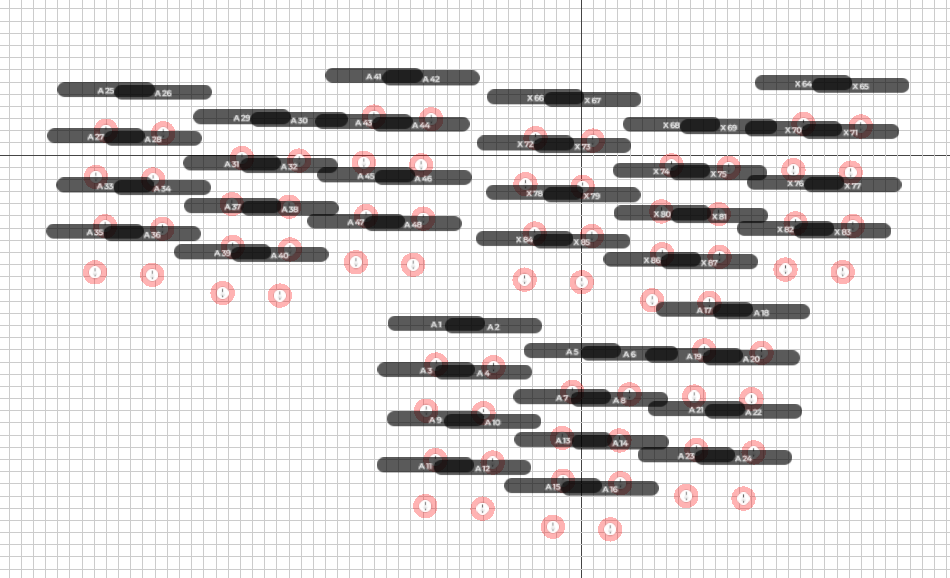
There is a new option for renaming a large number of devices. Using this tool you can define a prefix and a starting index and start clicking on each device you want to rename. The index will start incrementing automatically. Or you can use a box selection in 2D view to rename all anchors at once, the indexes are assigned automatically from top to bottom.
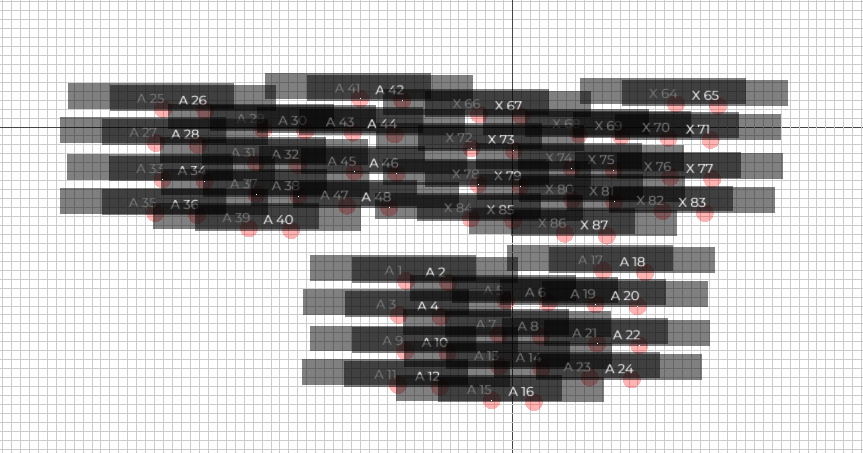
Labels Visibility Fixes
Labels now have maximal size, so displaying a large number of devices is not cluttering the whole screen.
Before → After
Rotated anchors now show the labels in the correct position.
Before → After

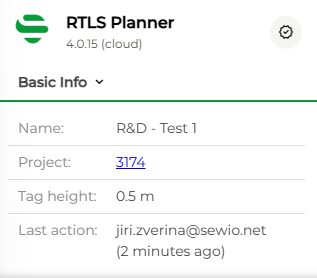
Last Action
You can see which user made the last change in the plan and how long age it was made in the plan's Basic Info.
Loading Fix
Plans now load automatically on the first load, no need to wait until the service starts or refresh the page to get to the plan immediately.
2.2.0
1D Support
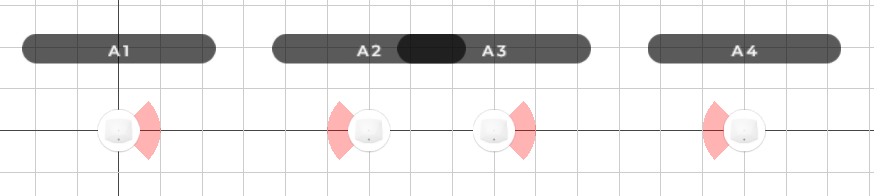
This RTLS Planner version now supports a 1D cell(s) design. You can pair 1D anchors and the RTLS Planner automatically change selected anchors to DirectFive model, rotated towards each other and tilted based on the height of the 1D anchors and tag height. The feature is available under the Add button on the Control Panel.
More details are in section Anchor Manipulation.
Anchor Tilt
The RTLS Planner 2.2.0 enables define vertical tilt for anchor DirectFive. It is important information for this anchor type. Mainly for 1D location. The tilt is automatically calculation when the anchor is paired for 1D location, or you can add it manually for 2D location anchors.
 More details are in section Anchor Manipulation.
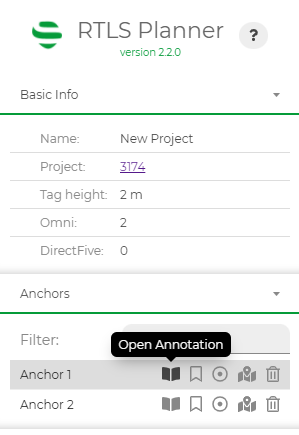
Anchor Annotations
In addition to the annotations in the plan, you can now add annotation directly to individual anchors. More details are in section Anchor Manipulation.
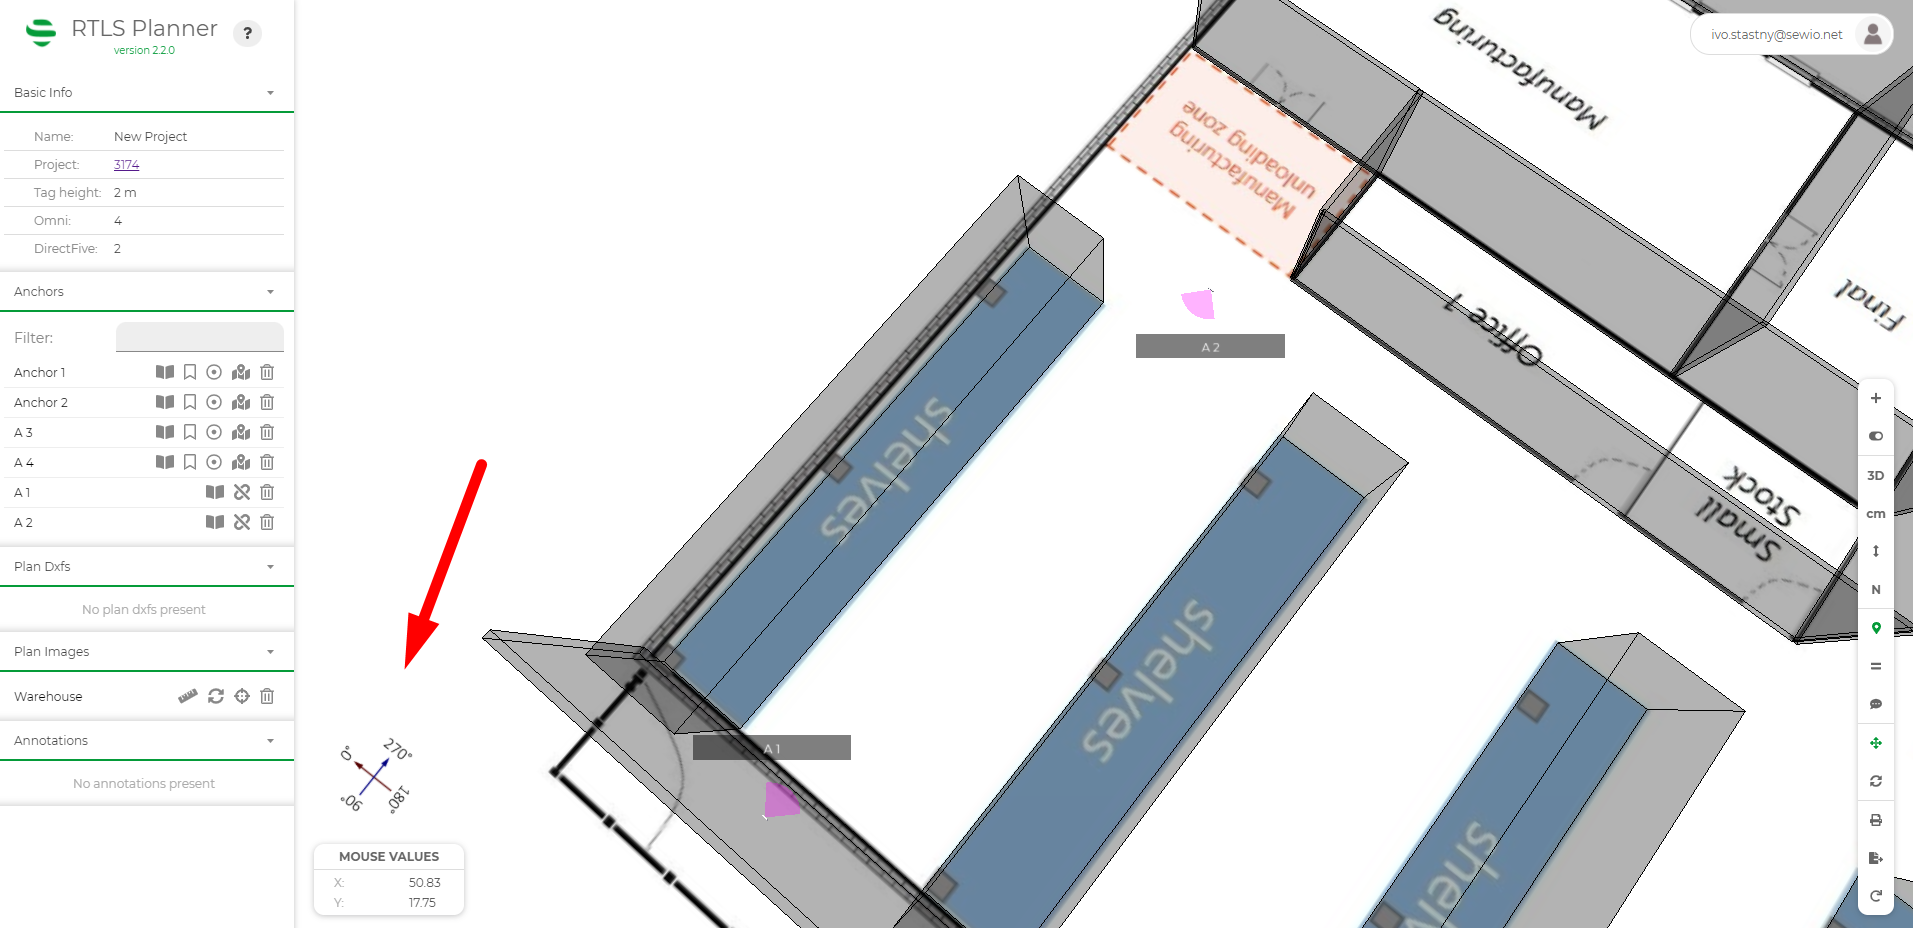
Added Compass
For better orientation in the plan, the user interface now includes a compass.
Master Visualization
To distinguish individual anchors and their functions, you can find several anchor graphic options in the RTLS Planner now.
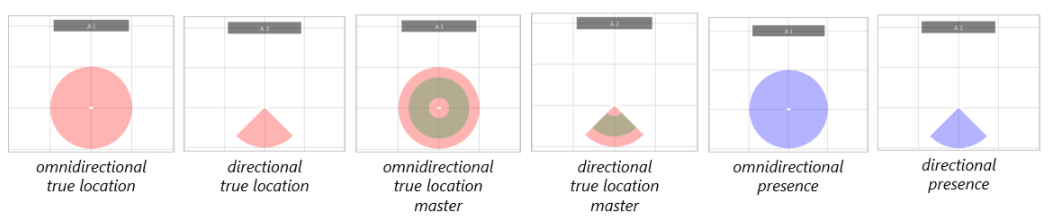
More details are in section Anchor Manipulation.
DOP visualization
The DOP calculation reflects the height of the tag and is calculated at the specified height. This change helps you understand better the coverage of your design.

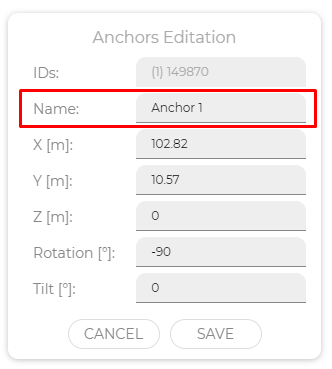
BUGFIXAnchor / Annotation Renaming Fix
Renaming of the anchor or annotation was moved from the Main panel to the Editation pannel.
2.1.0
Imperial System of Units
You can now change the distances and coordinate system to be in imperial units. Distances, positions, and parameters are in feet (with decimal notation).
Grid is shown in yards and the movement precision can be switched between yards, feet, and inches.
To change the system of units click on the "Toggle" button in the control panel and select "Imperial Units". Returning to the metric system is done exactly the same.


Progressive DOP Calculation
The calculation of DOP is now made in the background and doesn't block the user. The progress is visualised by little rotating icon in the control panel.
![]()
For the first time after loading plan, the DOP calculation may take a while, but every other calculation will be much faster than in the previous version.
When the DOP is partially loaded it will appear on the plan with lower resolution.
Once the calculation is finished the icon will change itself to "X" and the DOP will be shown in the best resolution possible.

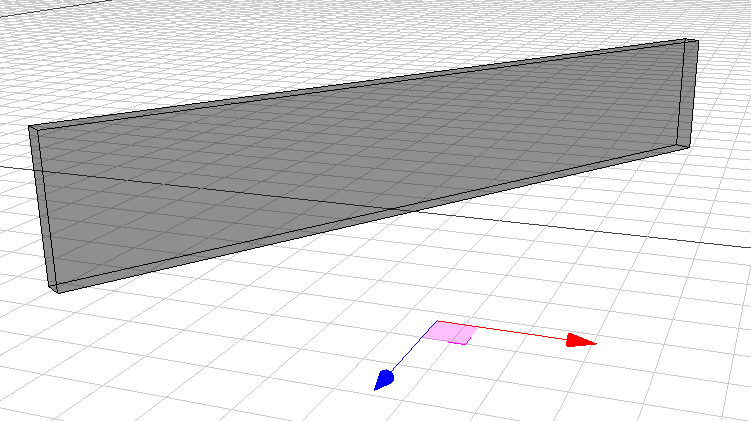
3D Walls
Elevation has been added to walls. By setting the elevation value you are now able to change the starting height of the wall.
This is useful for creating obstacles like air vents and beams.

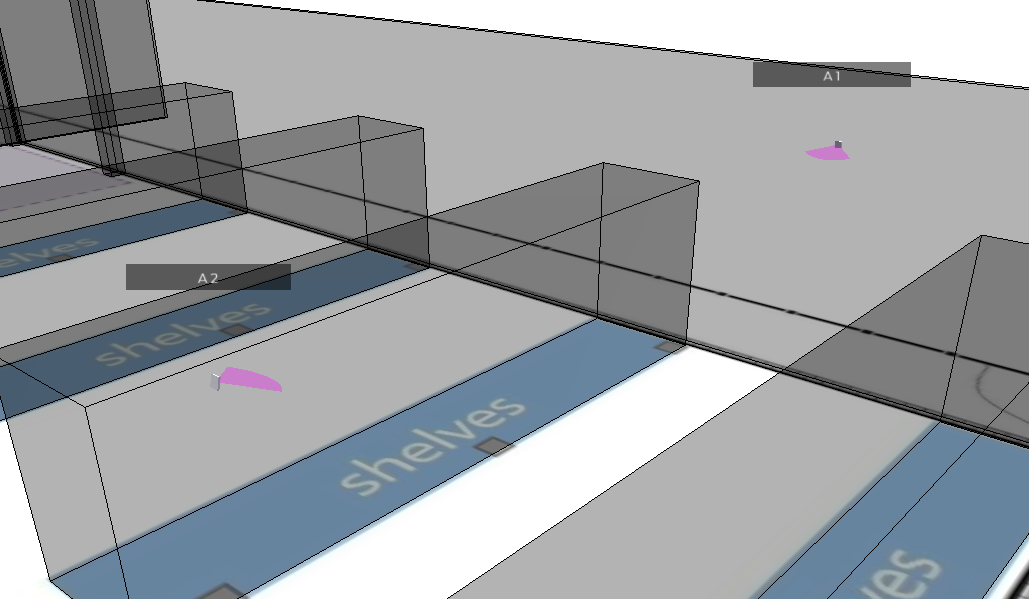
So far the walls in a DOP calculation acted as infinitely high. This is changed in this update.
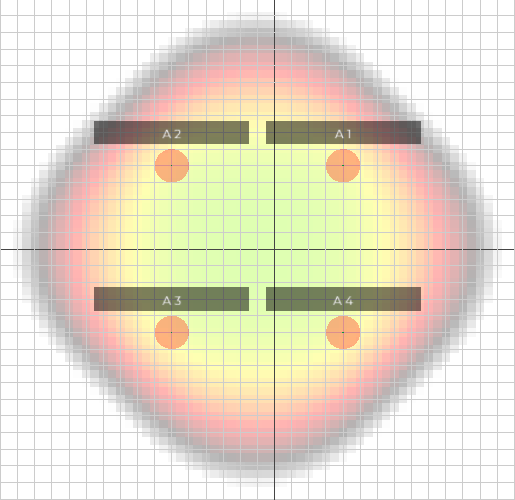
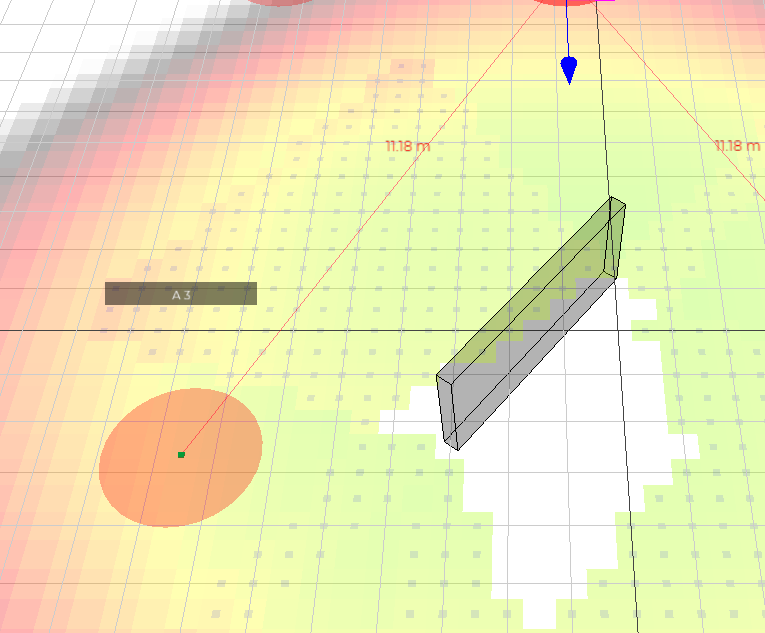
The walls will not block the DOP entirely if there is a line of sight between anchors, but not between anchors and the tag positions the walls can cast DOP shadows (as seen on the picture below).
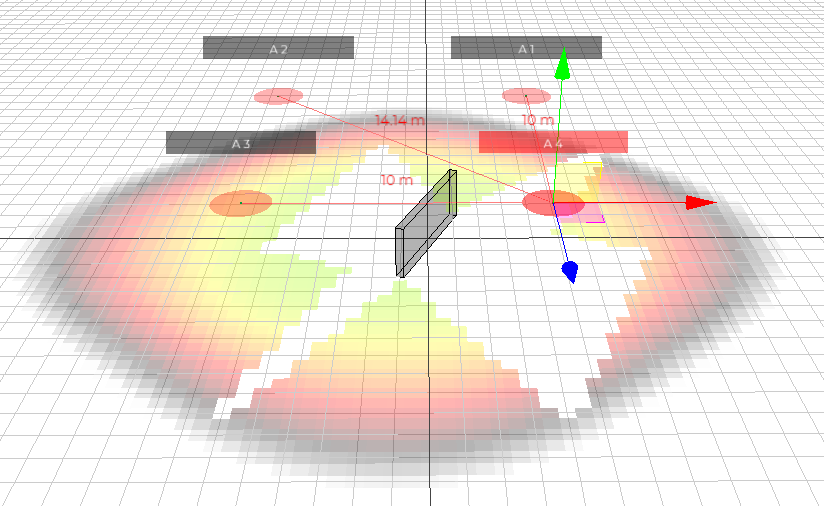
If there are some redundant anchors the DOP may be calculated with remaining anchors even when there is a wall blocking the view to others.
DOP values affected by the wall have a small blue square in the centre to inform you of this situation.
Anchor Point of View
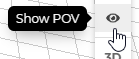
To see the plan from the perspective of an anchor, select one in a 3D view and click on the "Show POV" button.
The camera will zoom in and you are now able to rotate the camera freely.
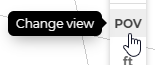
You may have noticed the view in the control panel has been changed from "3D" to "POV". By pressing the "POV" button you will return to the classic "3D" view.
In the "POV" mode you will not be able to change anything until you go back.
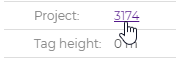
Project Link
You can now easily navigate back to the project in Sewio Portal by pressing the project ID in the plan details.
Annotations Improved
The annotation icon has been made bigger to be easily visible from distance.
Also clicking on the annotation in the annotation list will focus your camera on the selected annotation.

BUGFIX The Print Button
The print button has been fixed and will again show you the printer window with the current view without the GUI elements.